Teams is now accessible within Blackboard via the Microsoft Education LTI. Follow these steps to set up the “desktop view” of Teams within your course:
-
In your Blackboard course, click the plus
button where you would like to add Microsoft Education on your Content page.
-
Choose Content Market and select Microsoft Education.
-
To add the Microsoft Education Dashboard for you and your students, click the plus button on the icon.
-
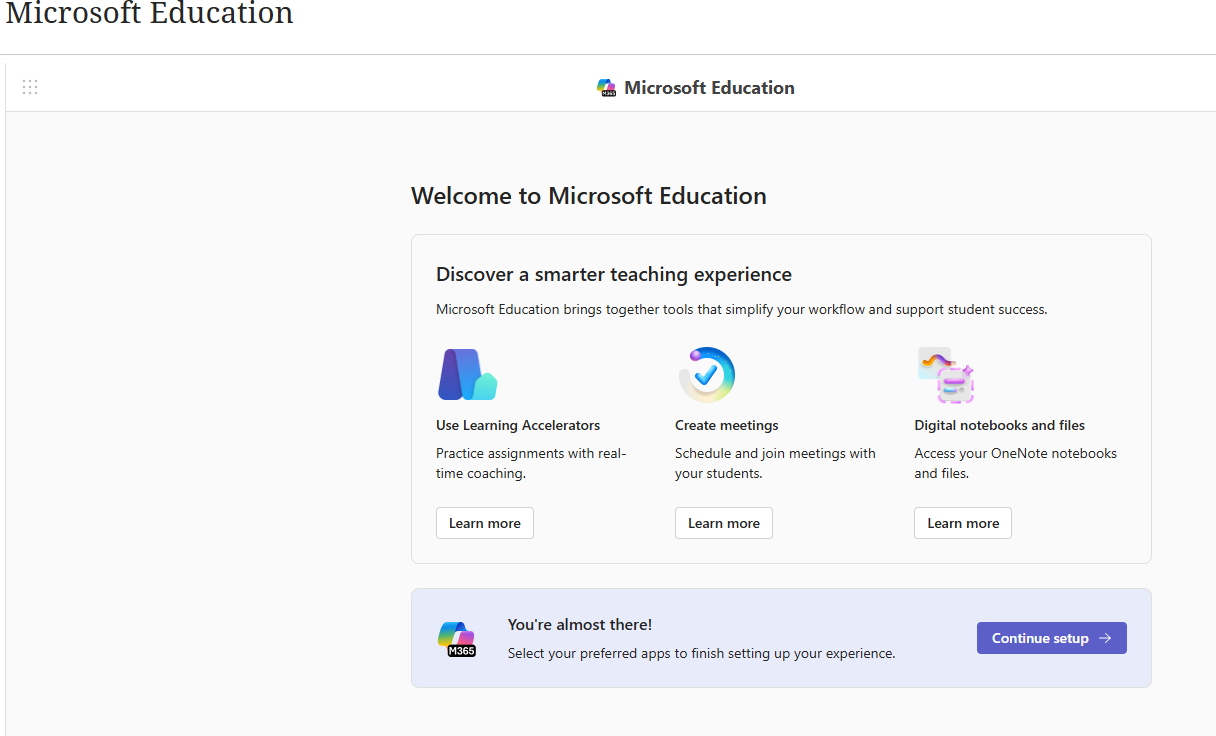
Click Microsoft Education in your course. The tool will open with a welcome page. Click the purple button on the bottom right called Continue setup.
-
Toggle the MS applications you would like to use (OneDrive, Class Notebook, and Meetings (Teams).
If you just want to access Teams, click Show, which appears to the right of Meetings. (The Show button will turn purple when activated.) You can always return to these settings later to configure OneDrive and/or Class Notebook.

-
Click Done (purple button on the bottom left).
-
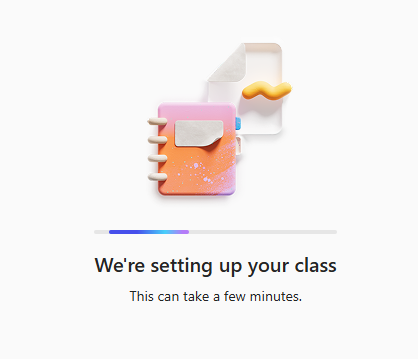
You will see the following image explaining that Meetings is being set up in your class.
-
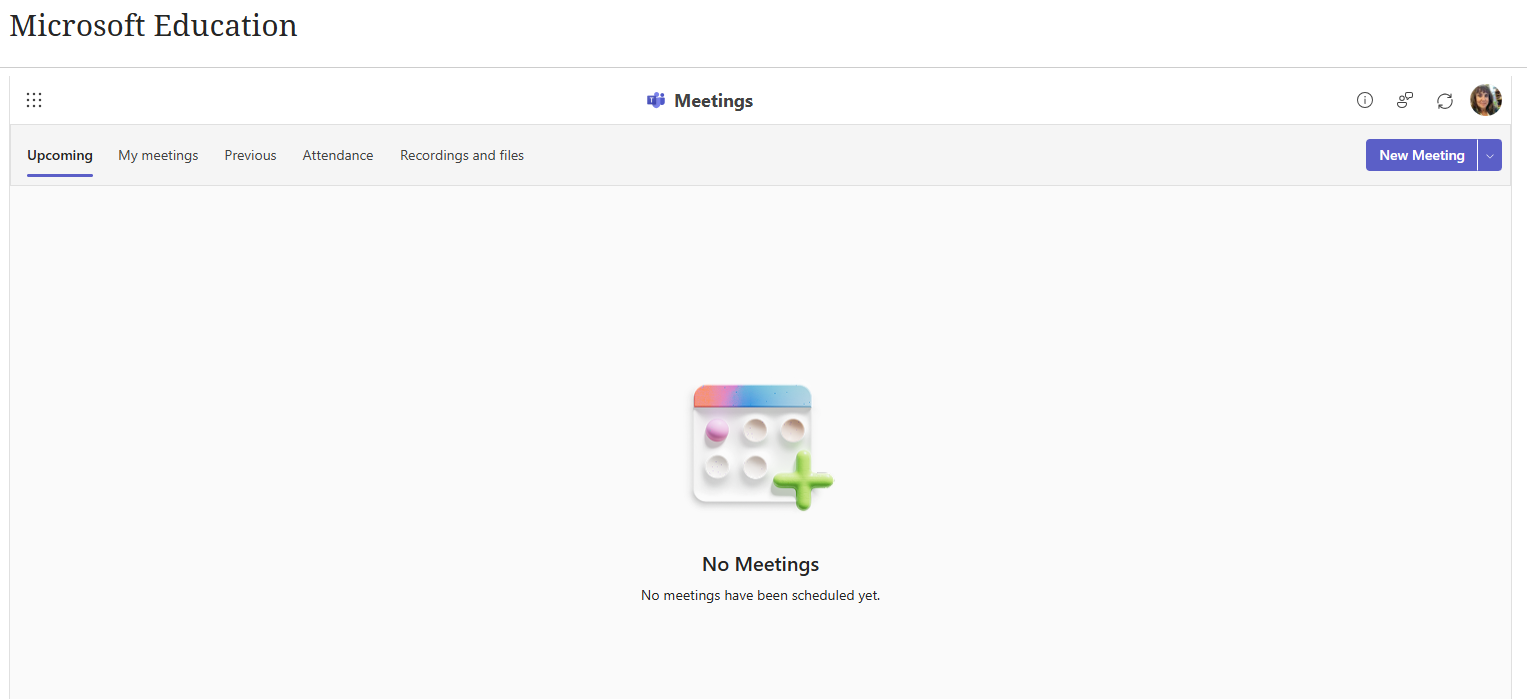
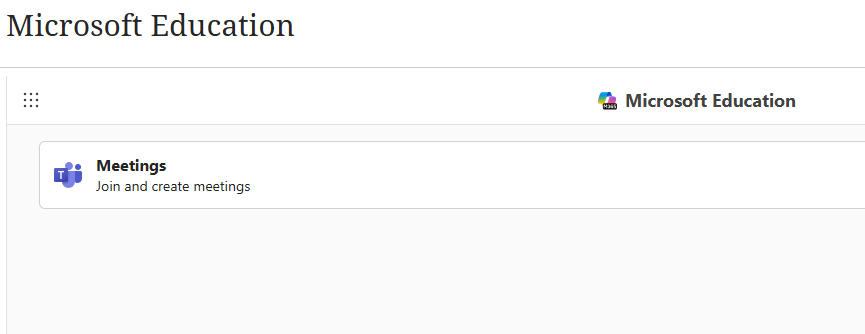
Once the set-up is done, you will see Meetings. To create or join meetings, click Meetings.
-
The desktop view opens, showing various tabs running horizontally at the top. Any meetings you create will show in these tabs for you and your students to access.