Kaltura Capture lets you create multi-stream recordings using a variety of recording devices. The tool can record video, audio, and your screen separately, or simultaneously.
One way you can use this tool is to create voice-over PowerPoint recordings while simultaneously recording your webcam. You can choose to create a voice-only recording of yourself, or direct your students to create their own recordings for assignments.
Kaltura Capture is available for both Windows and Mac users.
Install Kaltura Capture
-
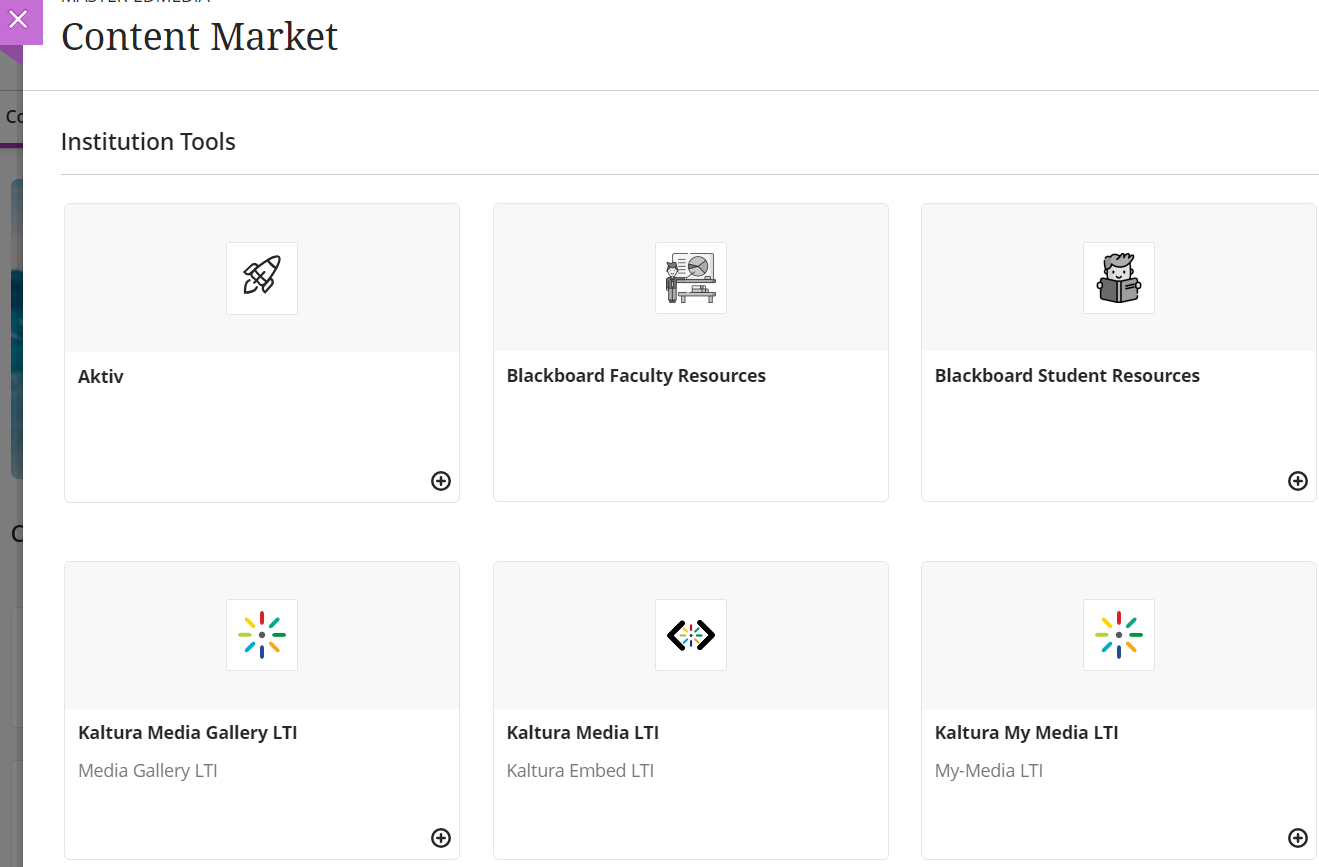
From Content Market, click on Kaltura My Media LTI.
-
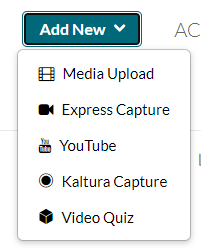
Click the Add New button, then select Kaltura Capture. Kaltura Capture is a standalone program, which must be downloaded to your computer.
-
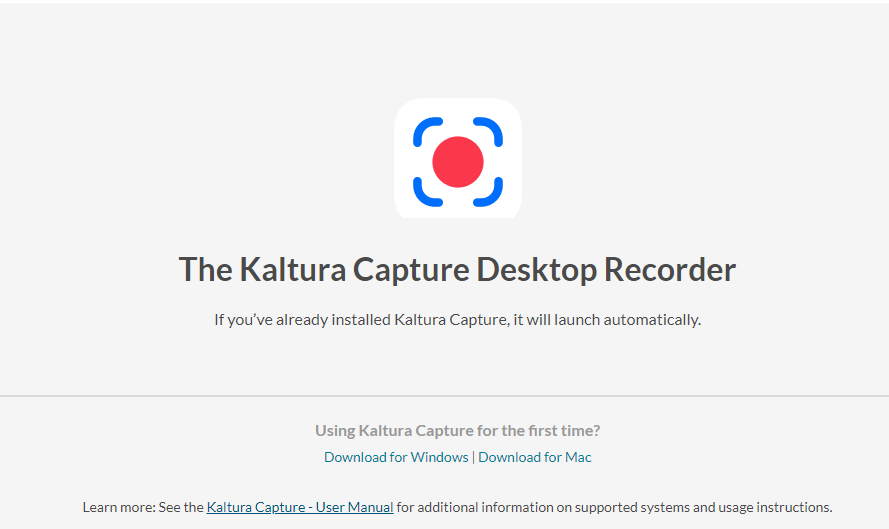
A window will open guiding you through the installation process.
-
Launch the application and follow the prompts to finish the installation.
NOTE: You don’t have to launch Kaltura Capture every time you wish to use it if you create shortcut on your desktop. Simply click the shortcut to start the program.
Kaltura recording options
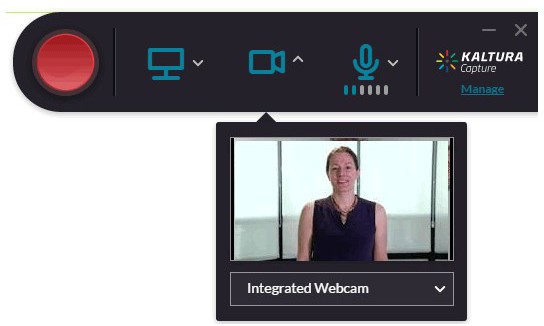
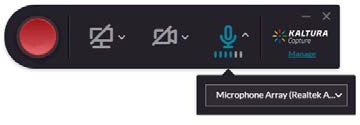
Following are the various options available within Kaltura Capture:
-
Red Record Button – press to record
-
Screen Settings – Desktop Capture
-
Camera Settings
-
Audio Settings
Create a Recording
-
Select which recording option you want or all three at the same time, screen, camera or mic. You can deactivate icons that appear on the Recorder by clicking on them and they will not record
-
Click the red button to start recording.
-
You will see a 5 second count down and then your recording will start.
-
When the recording begins, the duration of your recording is displayed in the recording Menu.
The Recording Menu
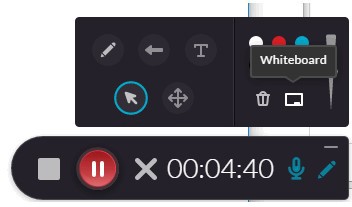
The recording menu includes:
-
Elapsed time
-
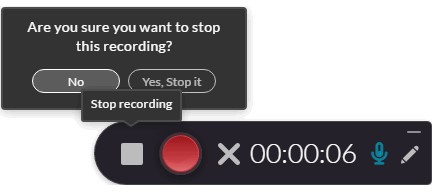
Stop recording button (white square). You will be prompted with a confirmation box.
-
Annotations – Click on the Pencil icon to open the annotations options. Use the various tools to annotate. When you are through annotation, click the Pencil icon to return to the cursor mode. Annotations are available for Screen recordings only. Annotations are deactivated if you are recording from your camera only.
Completing and Uploading
After you ‘stop’ your recording you will be directed to the entry page. Enter the title, description, and tags, and click save
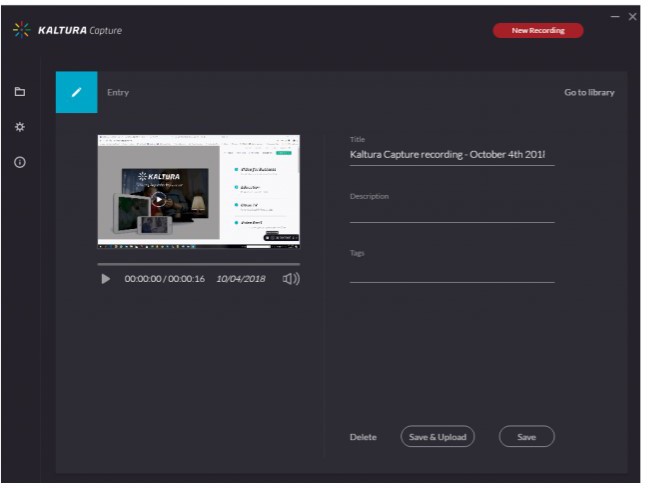
You have options to:
-
Delete your entry
-
Save and Upload to Kaltura My Media LTI.
-
Start a new recording – you will be prompted with a confirmation that you indeed want to leave.
-
Playback your recording.
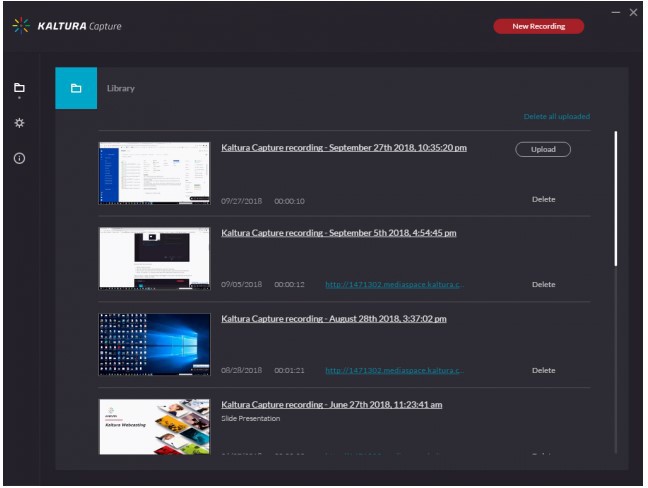
When you Save a recording without uploading it, the Management window opens with the Edit tab and displays the options to Upload or Delete your media.
Kaltura Knowledge Center resources
Introduction to Capture | Kaltura Knowledge Center