As part of the Zoom to Teams transition, Douglas College and Information Technology Services (ITS) is implementing a three-phase process to support the appropriate retention and deletion of your Zoom content.
Important Dates:
-
November 28, 2025: Phase 1 Deletion of Zoom recordings from 2019 to Dec. 31, 2020
-
January 30, 2026: Phase 2 Deletion of Zoom recordings from 2021 to Dec. 31, 2022
-
June 29th: Phase 3 Deletion of Zoom recordings from 2023 onwards
For opportunities to retain your content, please see the Video Conference Recordings - Retention SOP (link).
Email servicedesk@douglascollege.ca if you have any questions concerning the Zooms to Teams transition.
Download Zoom Recordings from the Zoom Cloud
Please note the above dates for Zoom recording deletion. Ensure that you download any important recordings by the deadlines.
-
Go to Zoom.us (link) and log-in with your Douglas College email and your Zoom password. If you have forgotten your password, reset your password (link).
-
Once you login to Zoom:
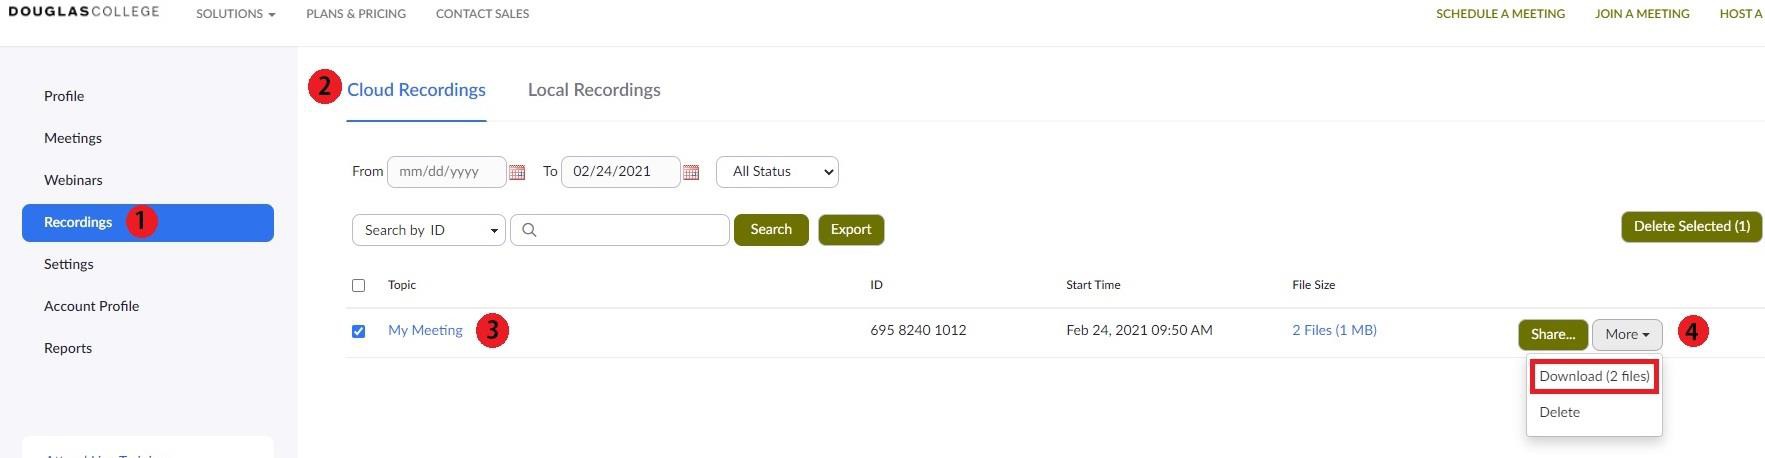
a. Click the Recordings menu link.
b. Click on Cloud Recordings.
c. In your recording list, select your desired meeting.
d. Click More and select Download.
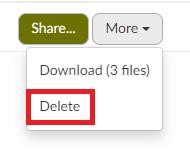
3. Once you have downloaded the recordings to your local computer, we suggest you delete them in Zoom or use the link provided for more options:
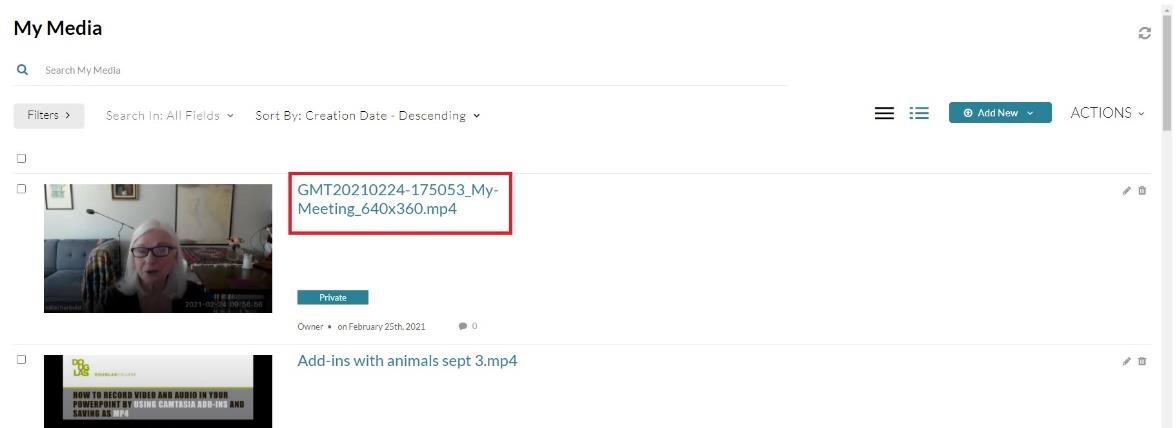
Upload Zoom Recordings to Kaltura/My Media
Instructions how to add My Media to your Blackboard Course (link)
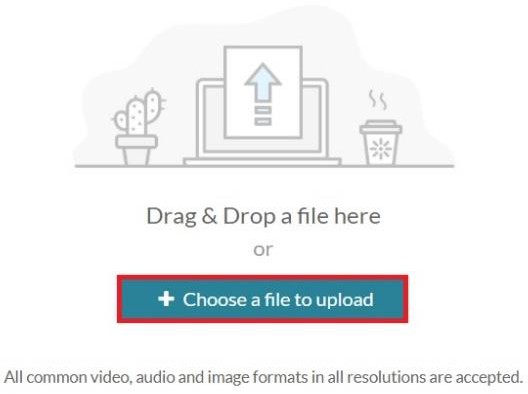
In Kaltura My Media:
-
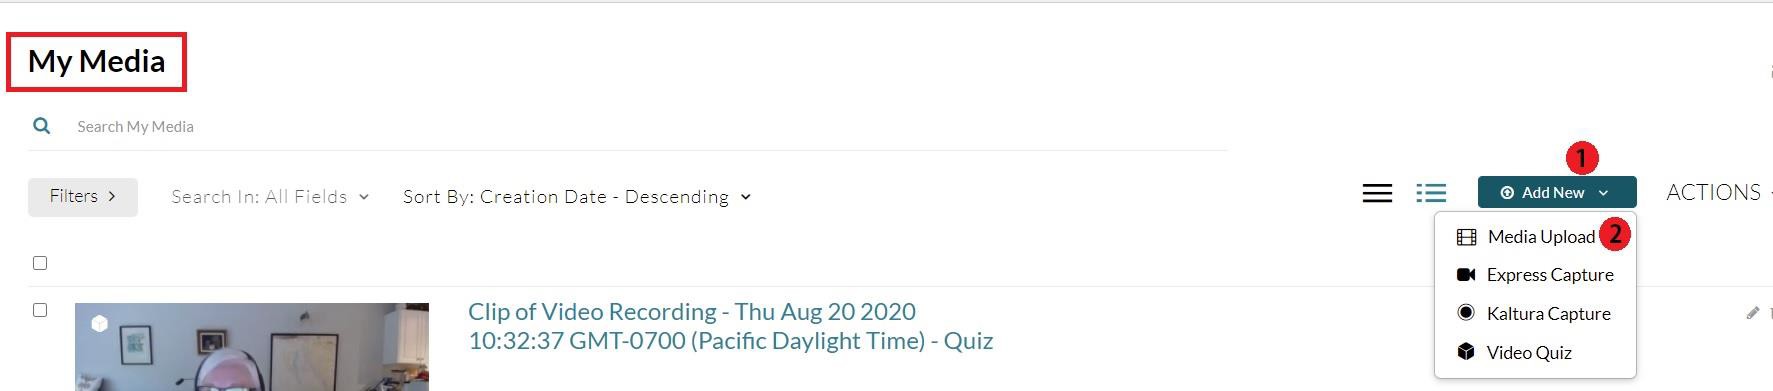
Click the Add New button.
-
Click Media Upload.
-
Click Choose a file to upload
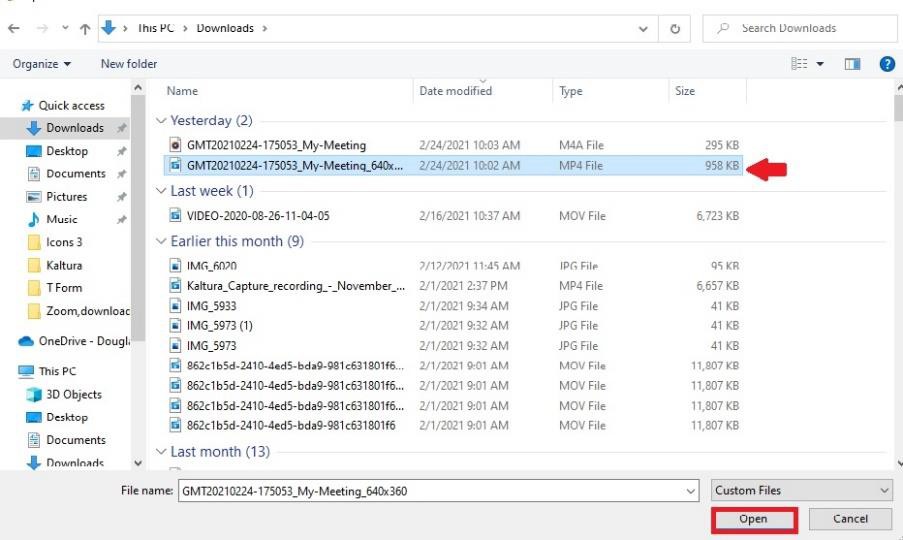
4. Your local computer directory will open. Locate the folder with the video you want to upload, select the video file, and click Open.
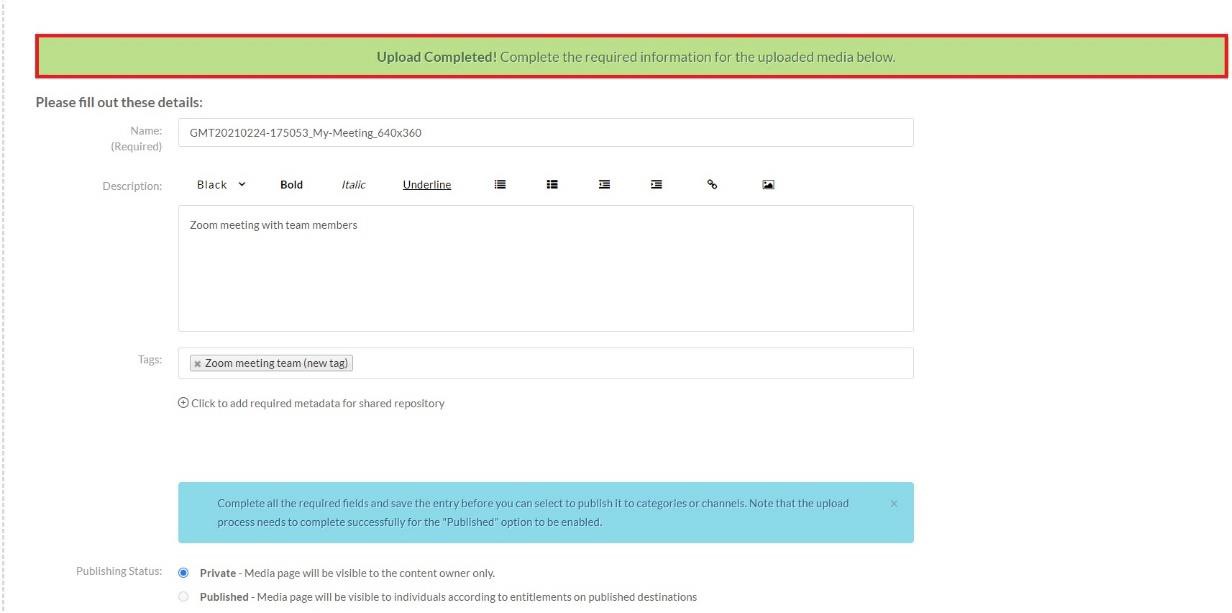
5. Once your Upload is completed, complete the required information for the uploaded media.
6. To access your uploaded media in My Media and the full set of media tools:
a. Click Save
b. Click Go To My Media

7. Your video is now in My Media.