You can provide audio, video and screencasting feedback in your Blackboard assignments. This allows instructors to provide a more multimodal feedback experience to their students in addition to text, images, and file uploads in the feedback panel.
Please note that the the feedback media does not count towards your course storage limit.
Providing feedback for assessments
-
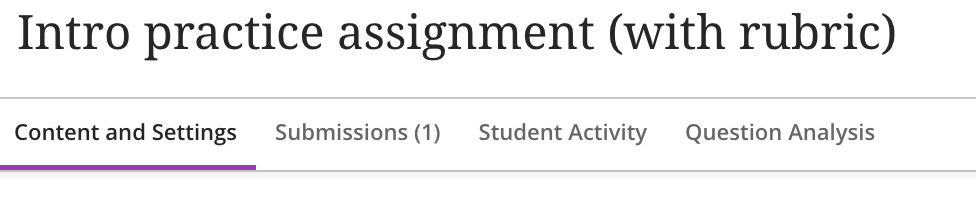
Click on an assessment in Gradable items.
-
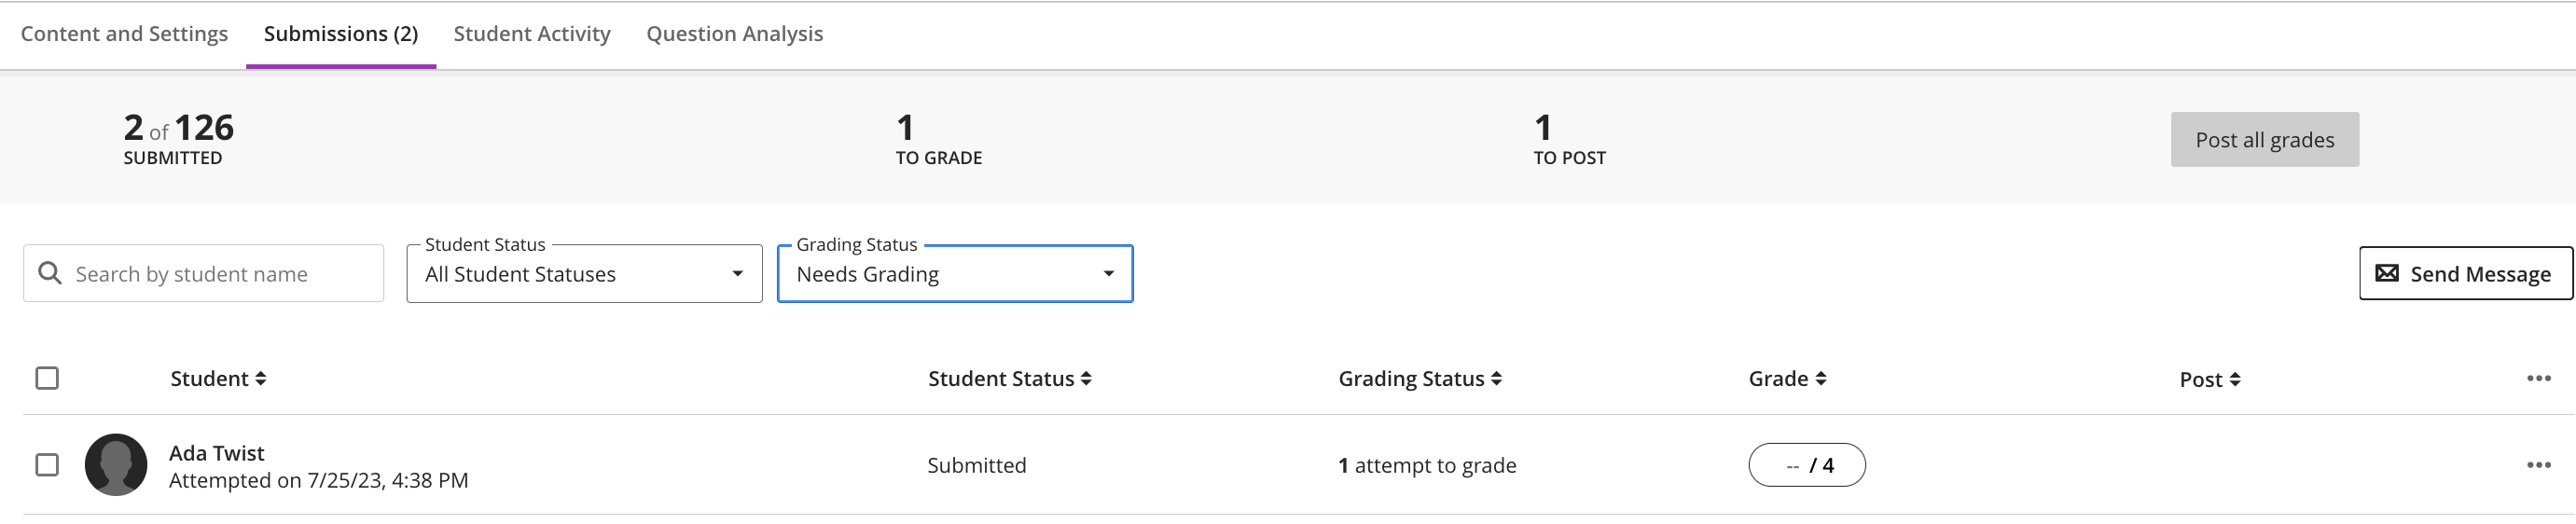
Click on Submissions to view all submissions (Note: You can filter your submissions to see only those which need grading.)
-
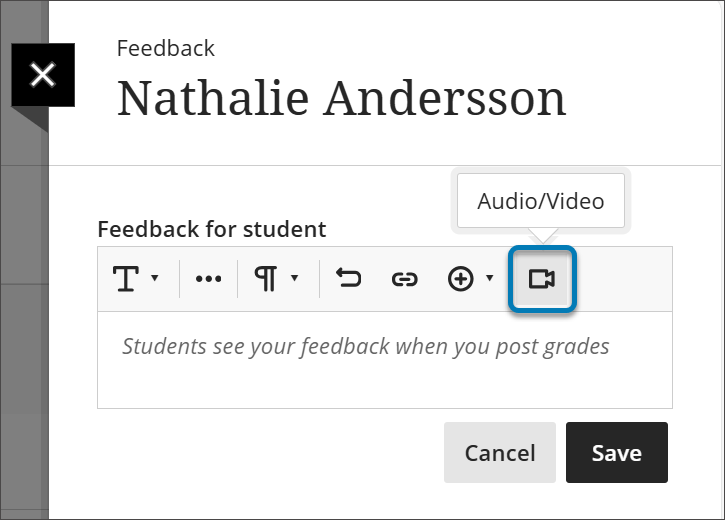
Click on the student’s name to enter the grading workflow
-
In the feedback area, click on the video camera icon.
-
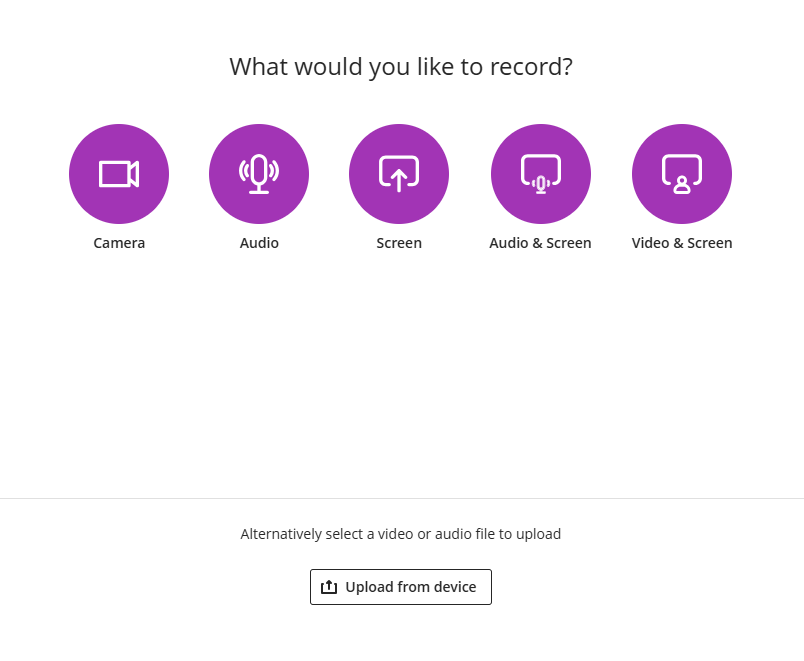
You will have 5 recording options:
-
Camera
-
Audio
-
Screen
-
Audio & Screen
-
Video and screen
-
You also have the option to upload a video from a device to add to our feedback.
Note: You may have to grant your browser permission to use your camera and microphone.
-
When the Recording Window opens, you may need to do one or more of the following:
-
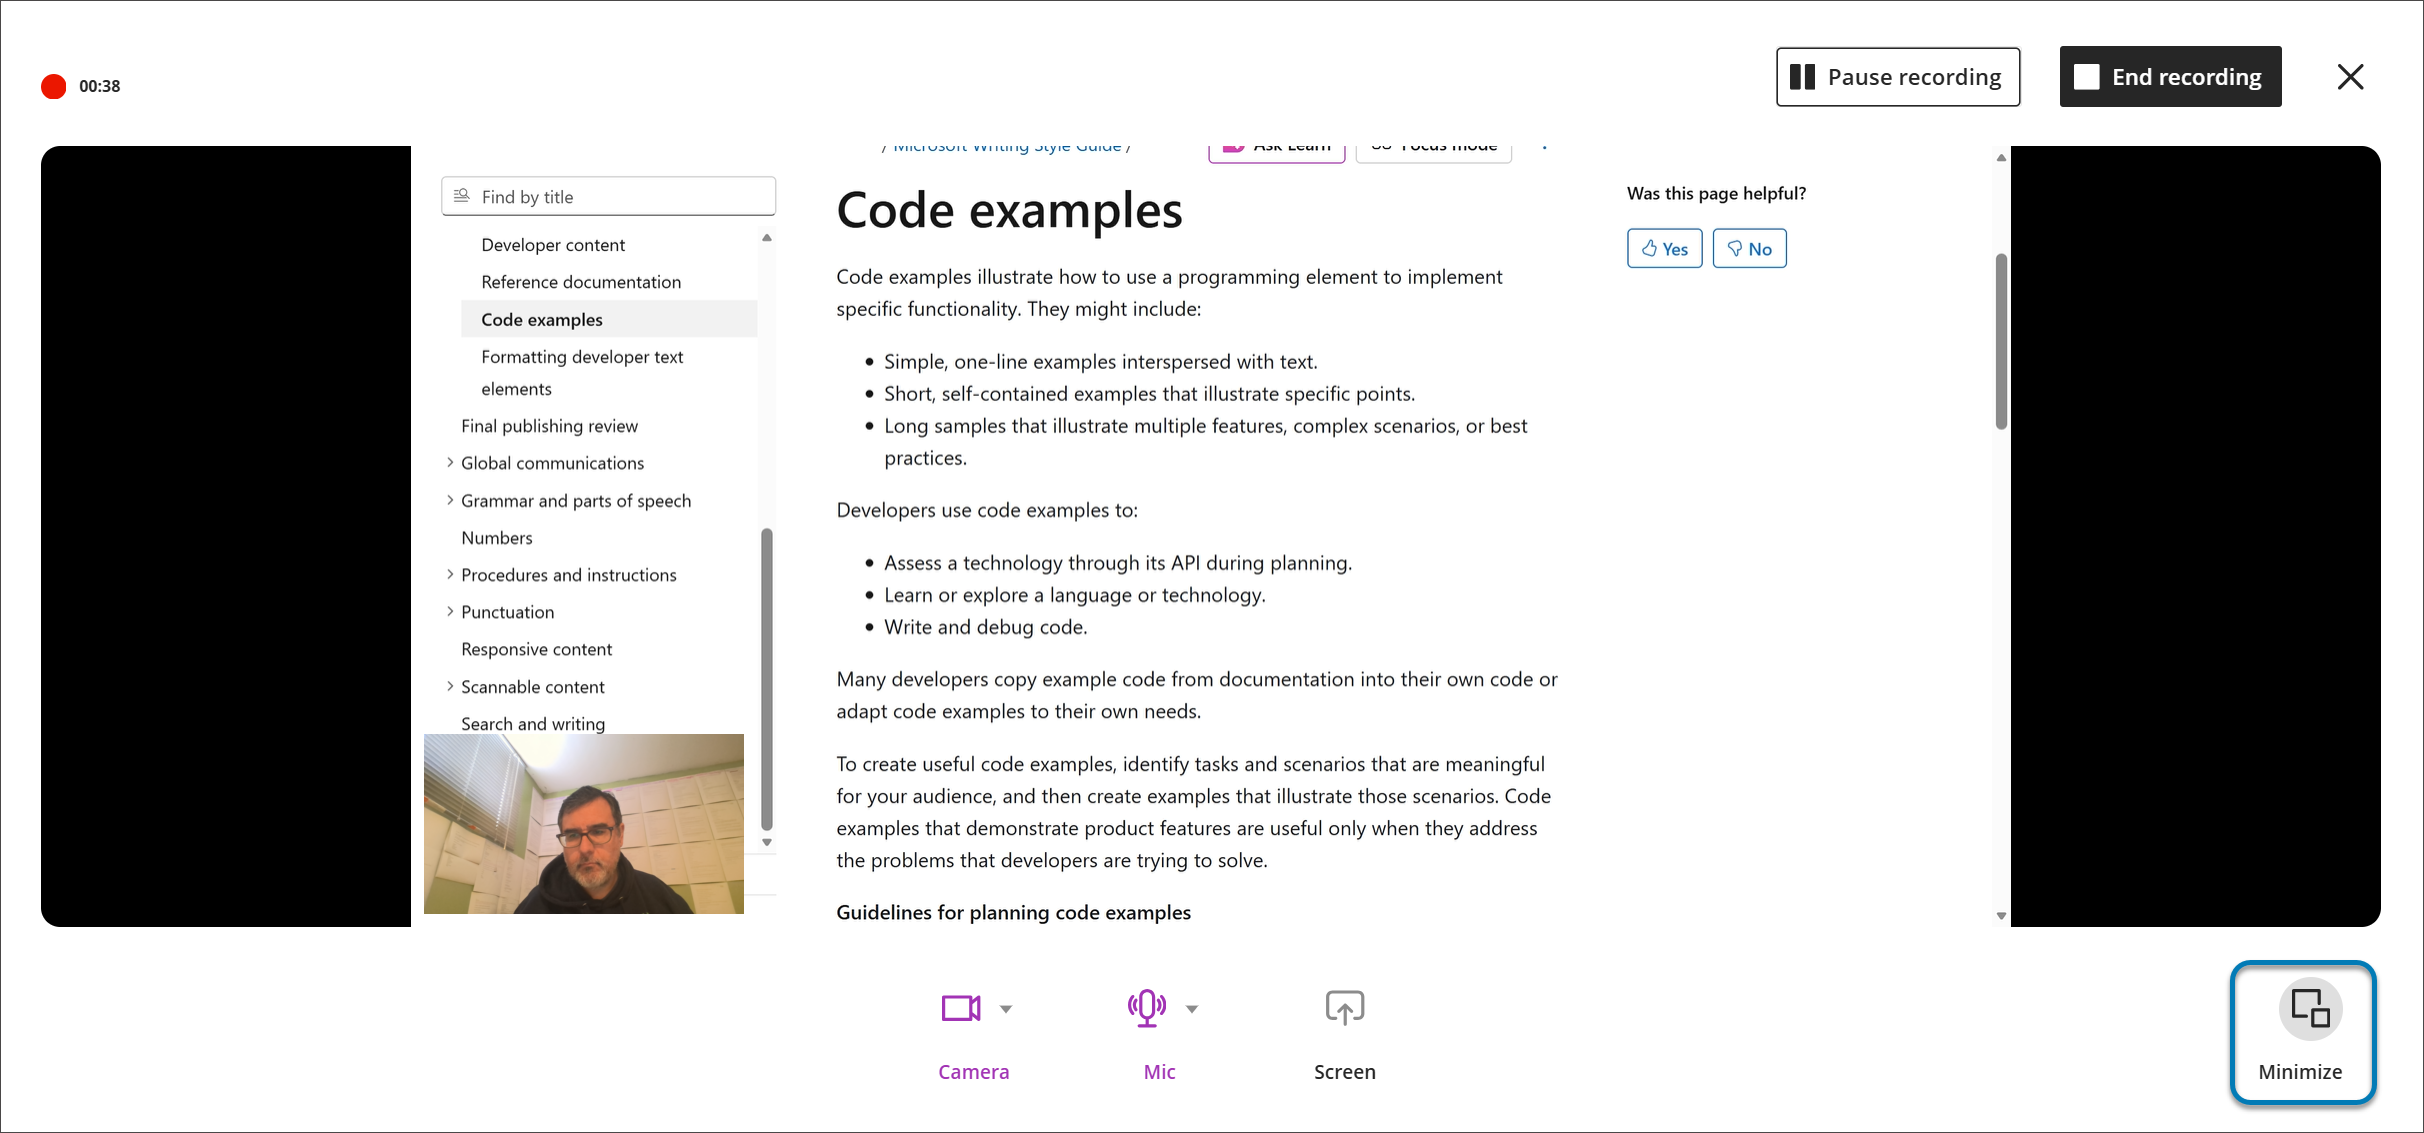
Choose your camera by clicking on the down arrow to the right of the camera icon
-
Choose your microphone by clicking on the down arrow to the right of the mic icon
-
Choose what to share (tab, screen, window).
-
-
You can click on the icon with the two squares if you would like to minimize the recording window and focus on another area of your device.
-
Click Start Recording when you are ready.
-
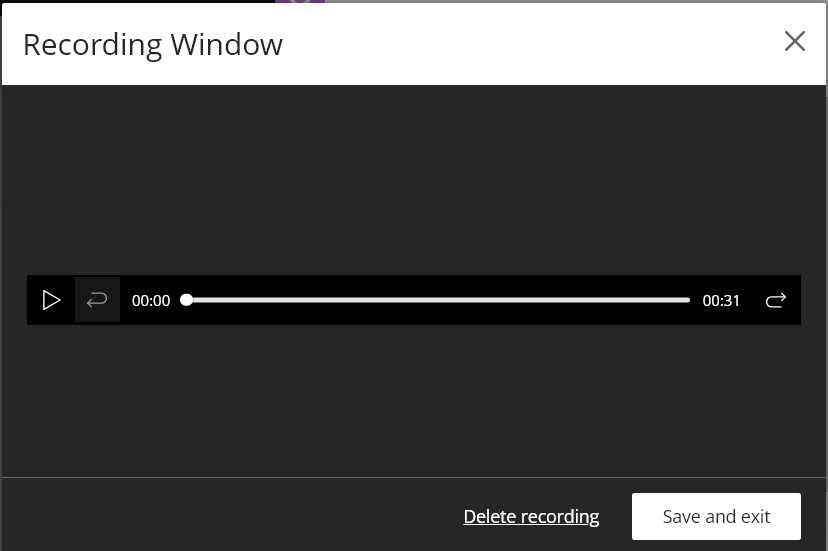
A countdown will appear. You can pause or stop the recording, after which you can Delete recording or Save and Exit. Add a description if necessary.
-
Add additional text as needed, enter a grade, and then click Save.
-
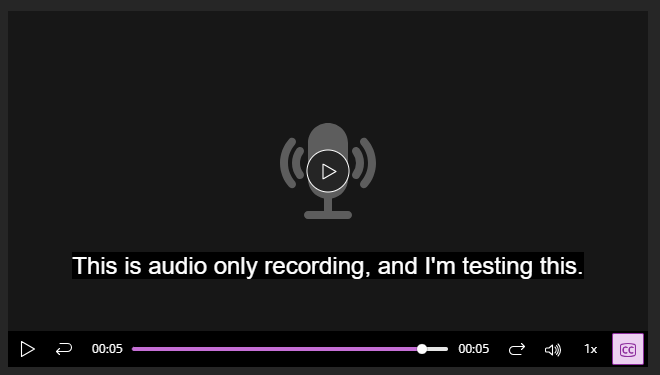
During playback, students can click on the purple CC icon in the lower right corner to access the automatically-generated closed captions.
Additional settings
-
In the feedback content editor box, select the video and choose the pencil (edit) icon.
-
Edit your title or description by clicking on the Details icon. Click Save Video.
-
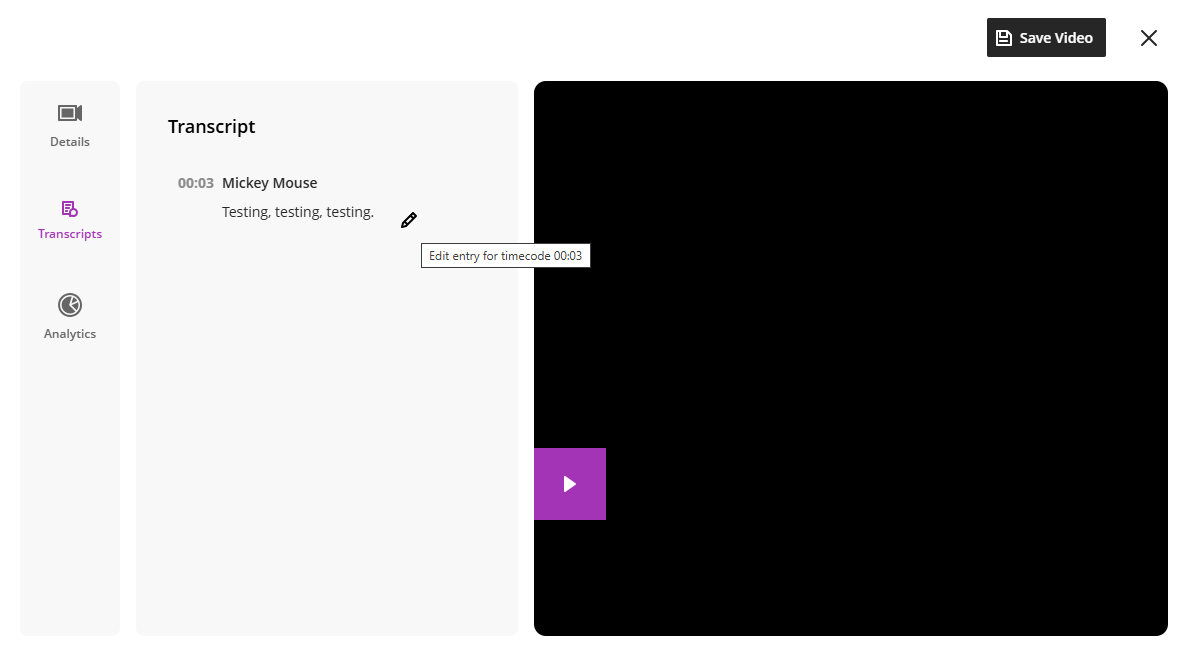
Edit the speaker name or transcript by selecting Transcripts, then hover over the text and clicking the pencil icon. If you have multiple speakers, you can choose to apply the speaker name change for all instances of that person.

-
Check views and watch time by selecting Analytics.
-
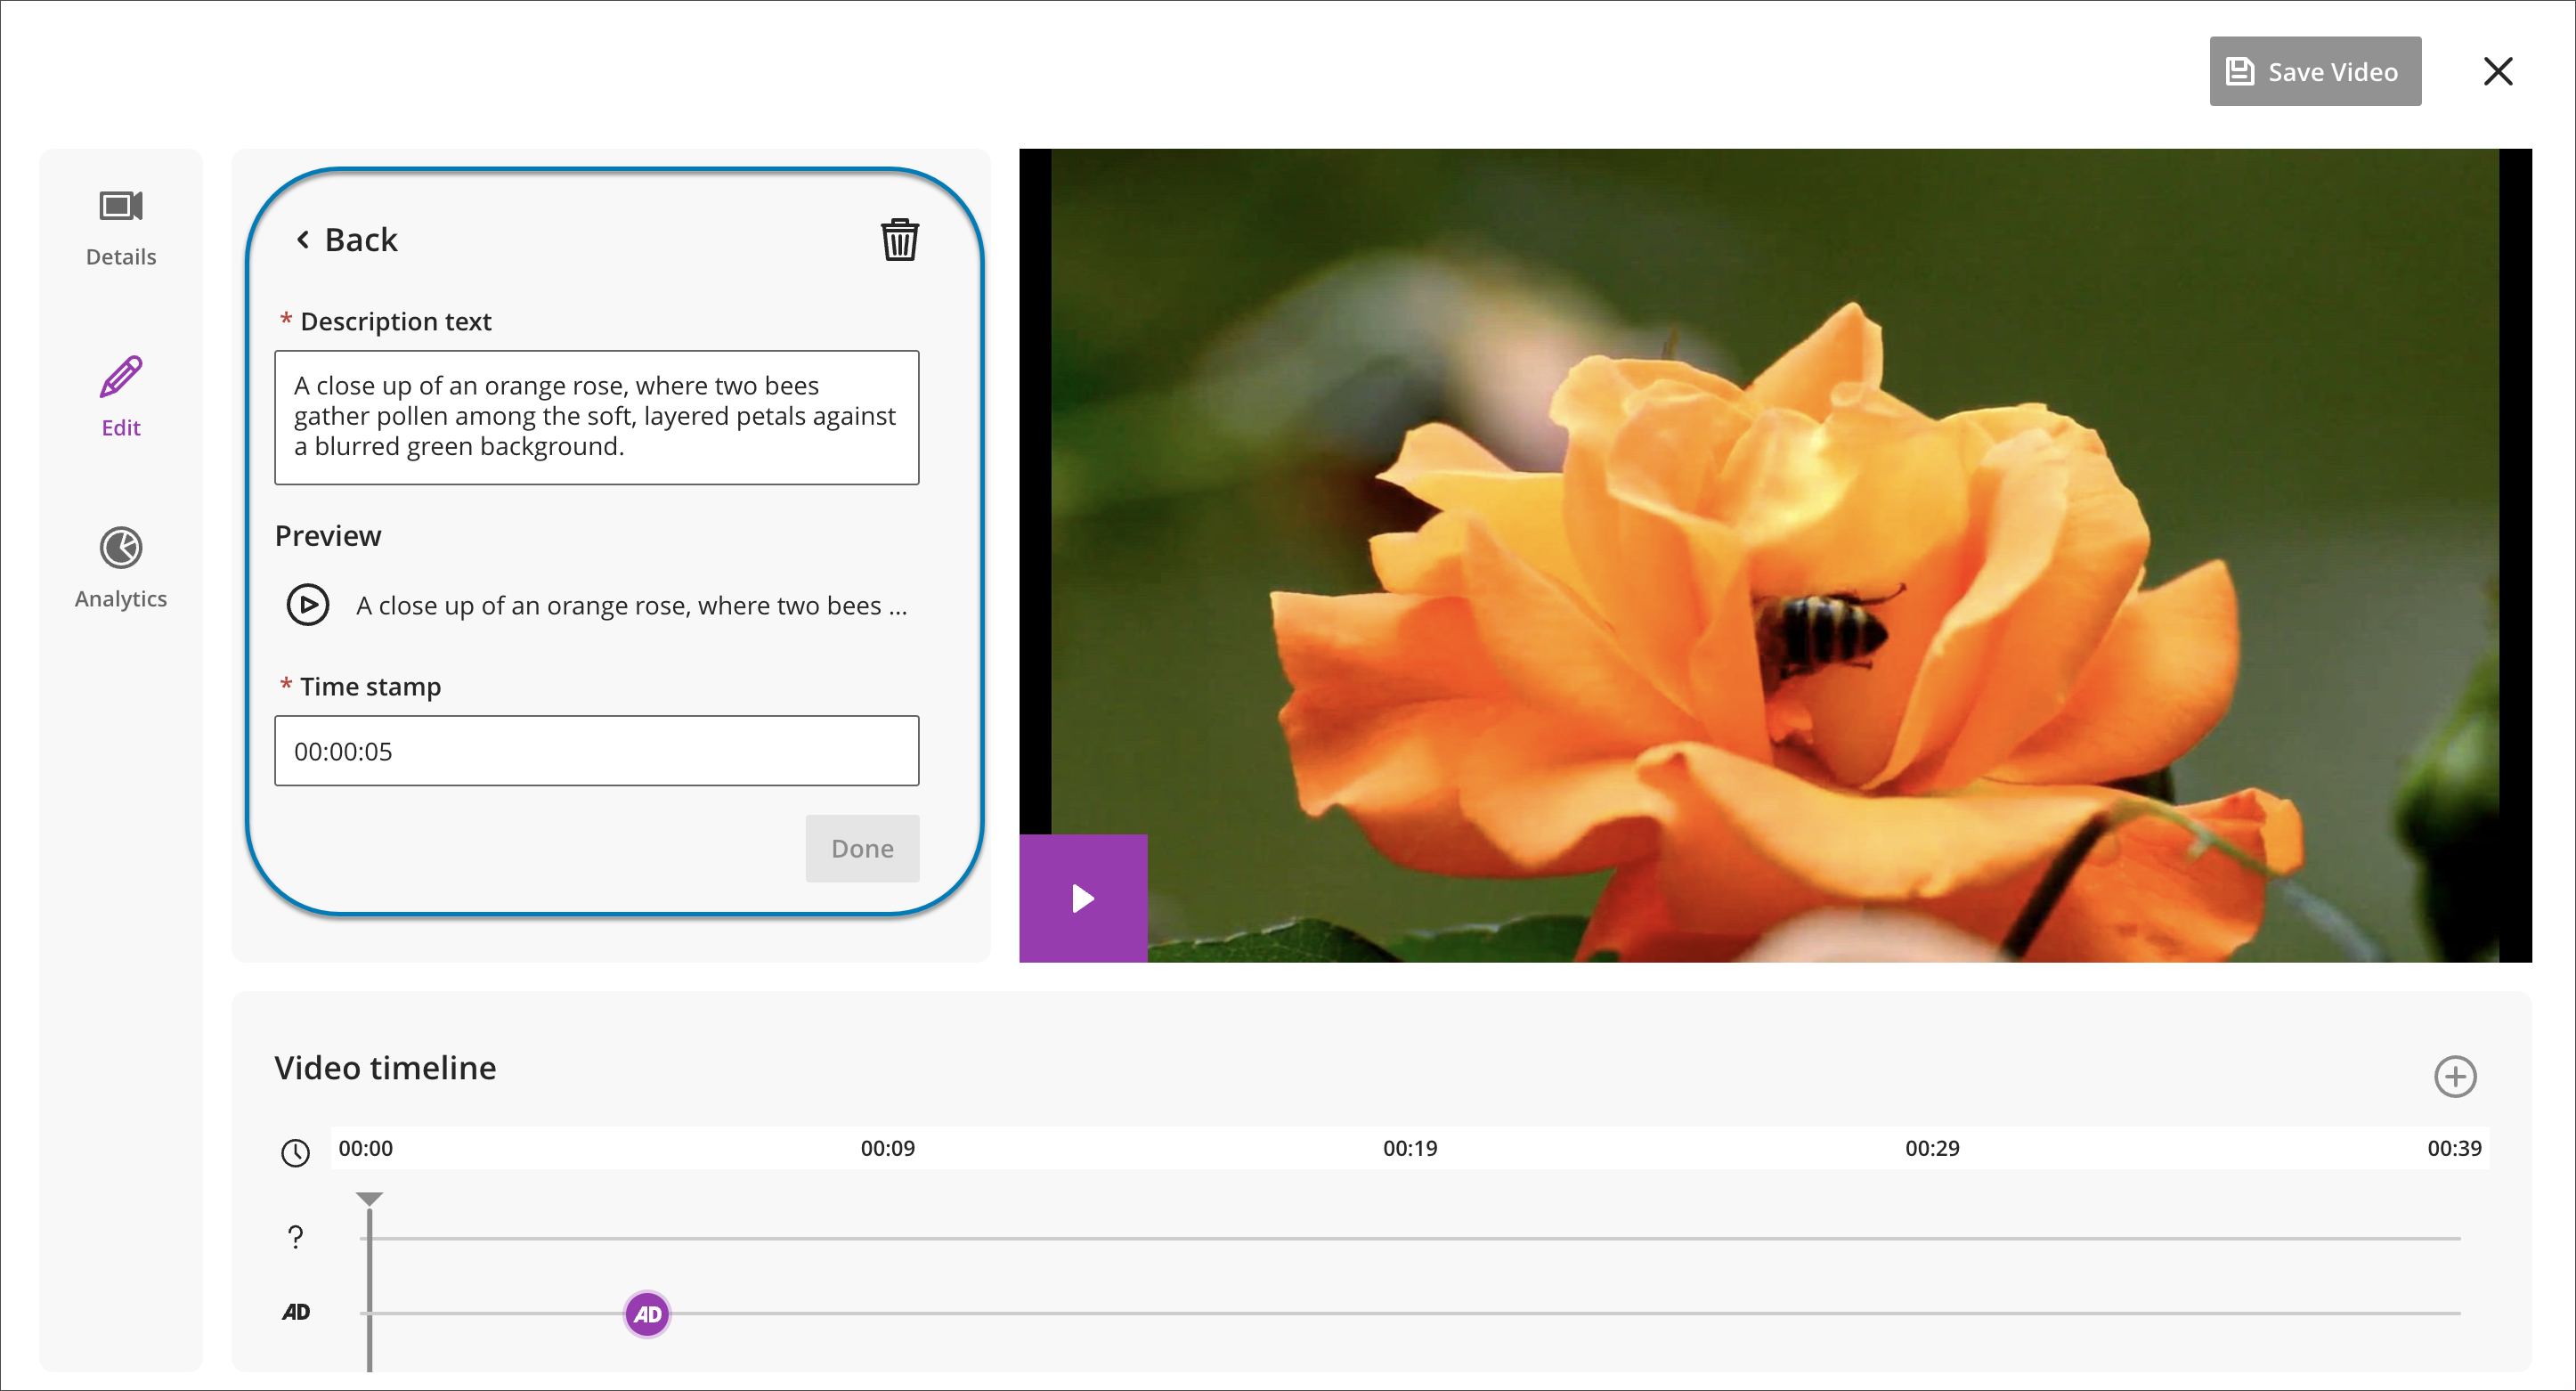
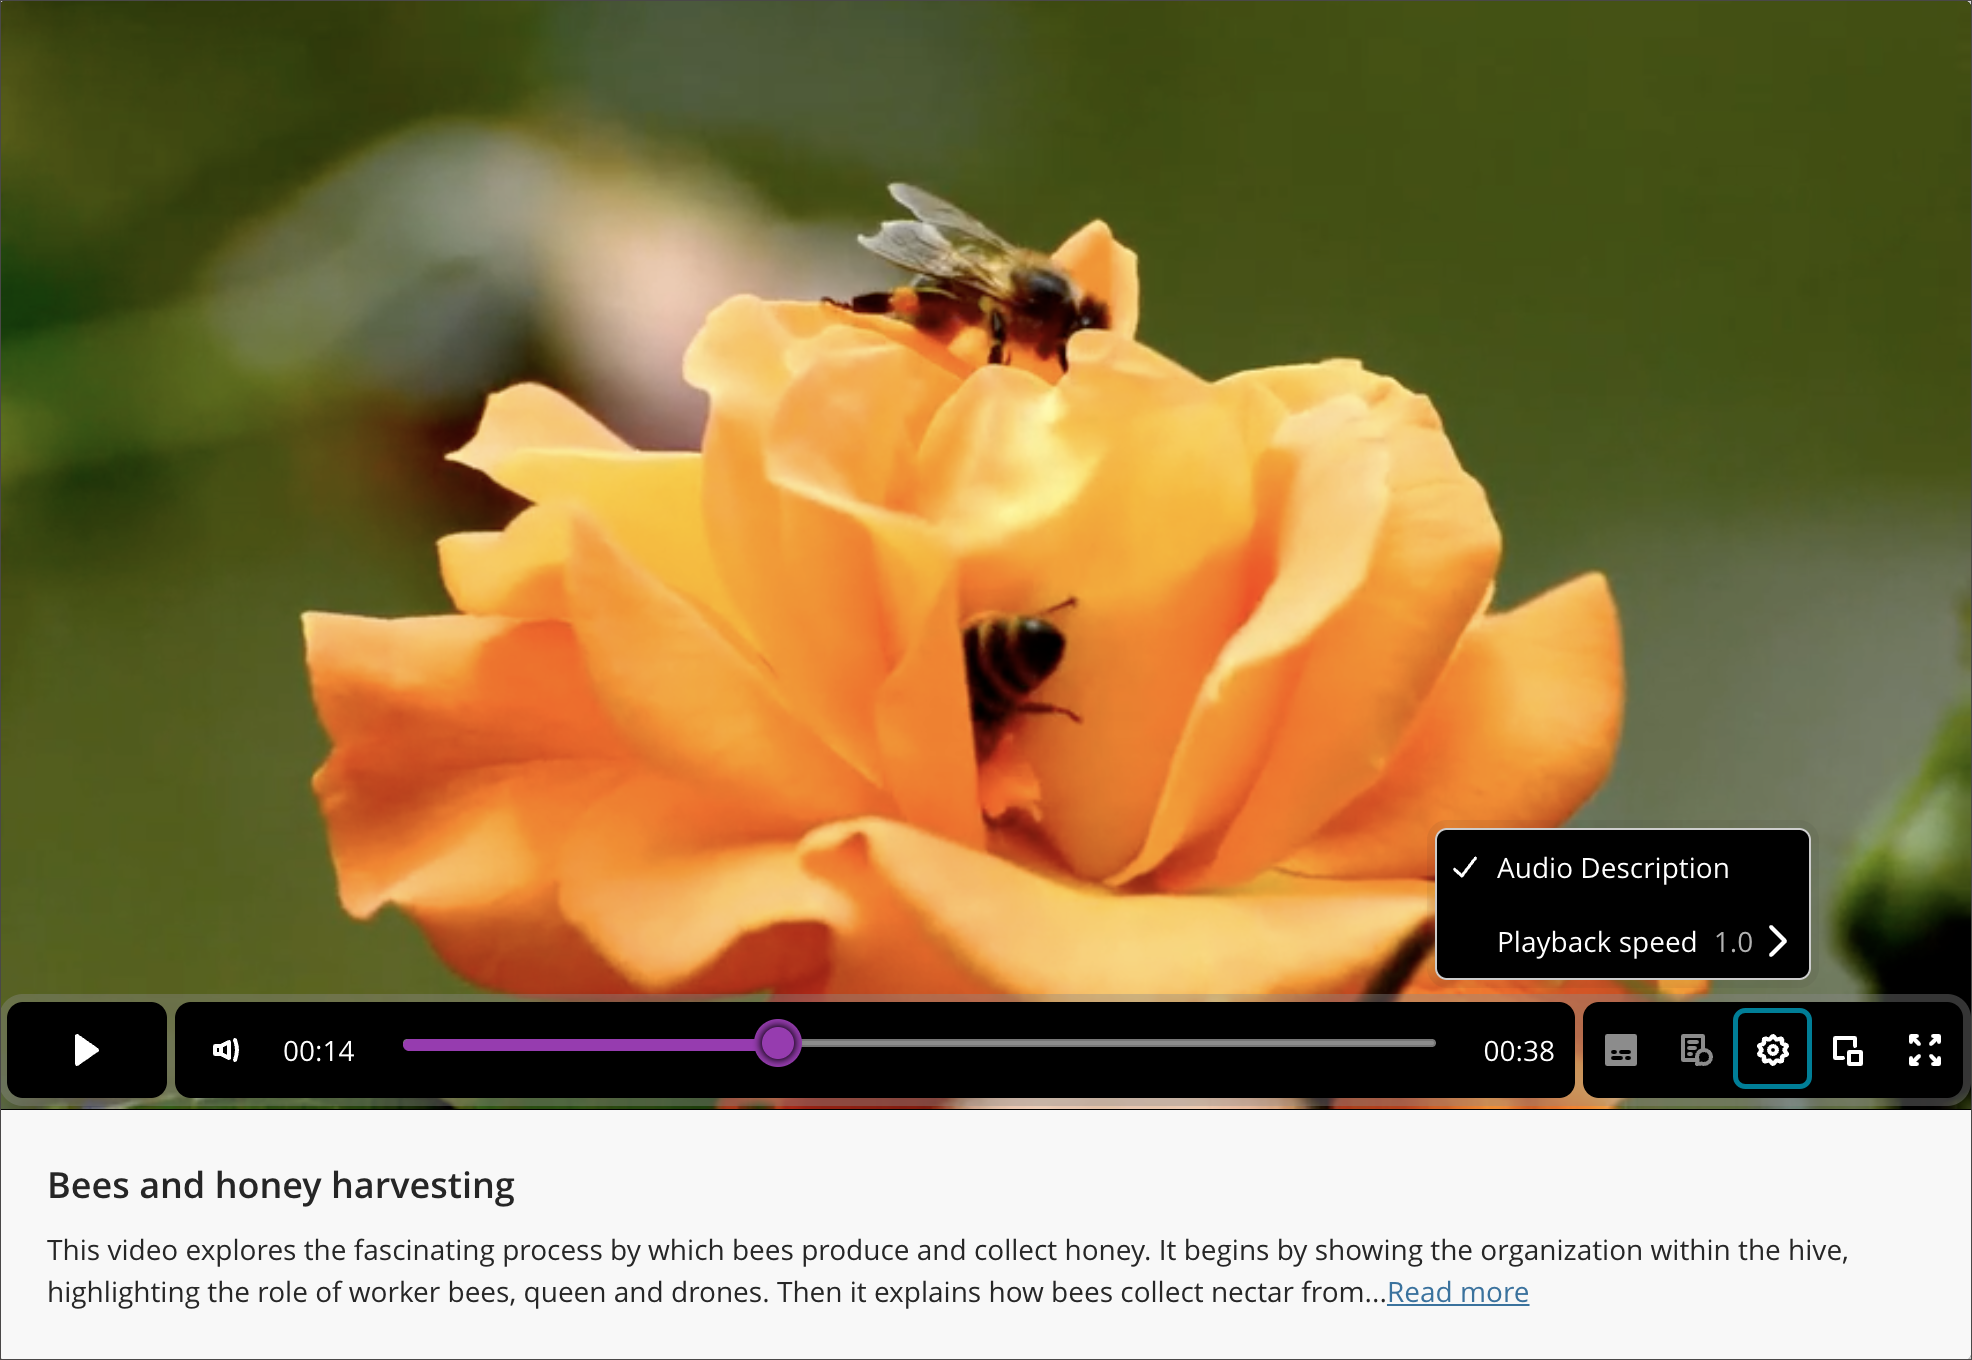
After creating your video, you can add audio descriptions for students who require it via the Edit tab. When playing the video, they can be turned on via the settings (gear icon) and selecting Audio Description.