Using the Document tool
Documents allow you to combine a variety of materials to view together. For example, this can include:
Introductory text to a lesson plan or a description of a video
Multimedia (images, videos)
Powerpoint slides (as a PDF or PPT file)
Web resources
When students click on the Document title, the materials you added are all presented together on one page. Students see the content just as you see it, without the editing options.
Note: The longer your content item is, the more your students have to scroll to see all the other materials in the content area. Consider organizing content into separate Documents if this is an issue
Create a Document
On the Course Content page, click on a
 wherever you want to add a Document (in the main Course Content page, folder, or a Learning module).
 In the menu, select
 Create to open the Create Item panel and select Document.
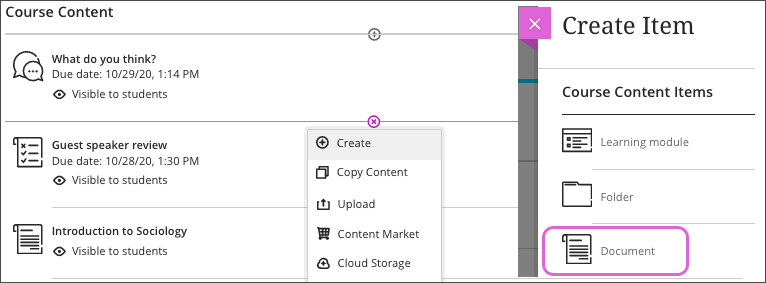
3. After the New Document page opens, name the Document by clicking on the pencil icon

On the Course Content page, the title appears as the link students click on to view the materials. If you don't add a title, New Document and the date appear in the content list.
4. Select a type of content to add a block.
Content - Content editor appears with options to add text, images, videos, etc.
HTML - You can write or paste HTML code into the editor and select Save.
Knowledge checks - Knowledge checks allows students to check their knowledge of content in Documents and receive immediate feedback via Multiple choice/answer questions. Instructors can see metrics in their view.
File upload - Browse for files or drag files from your computer.
Cloud upload - Insert files from Google Drive, OneDrive, Dropbox, or Box
Content Collection - Insert files from your current or a previous course
Image - Upload an image from your device or choose an Unsplash photo.
Divider - Add a horizontal divider to separate content.
Convert a file - Upload pdf, pptx, doc, and other file types and convert into inline Document content. Converted content should be reviewed for accuracy.
Knowledge checks in Documents
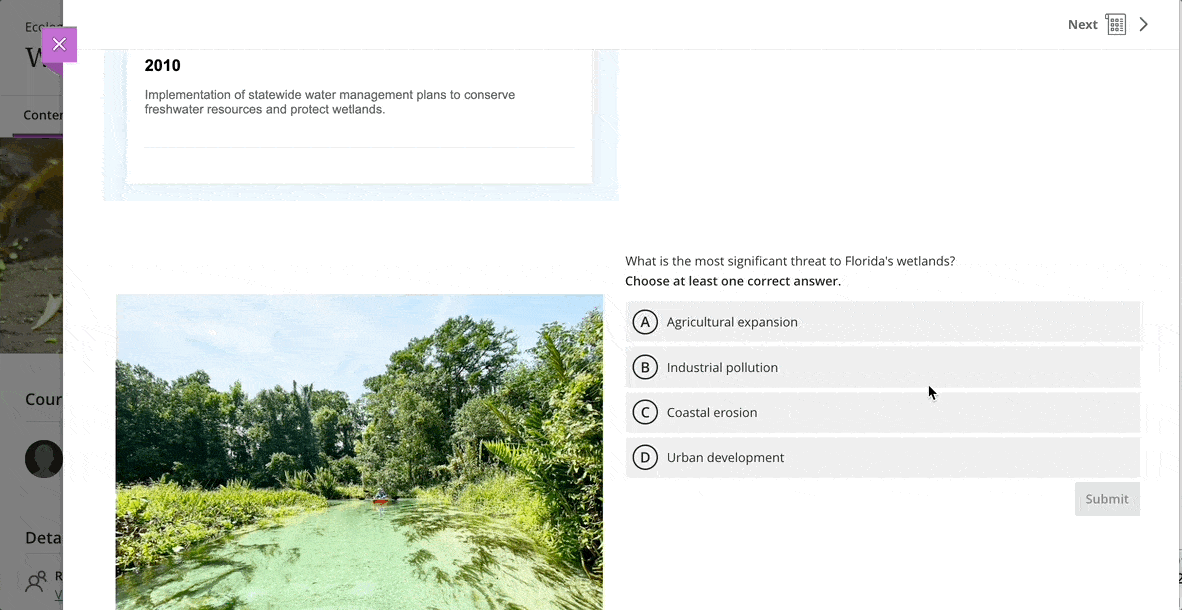
Student profile for a Knowledge Check
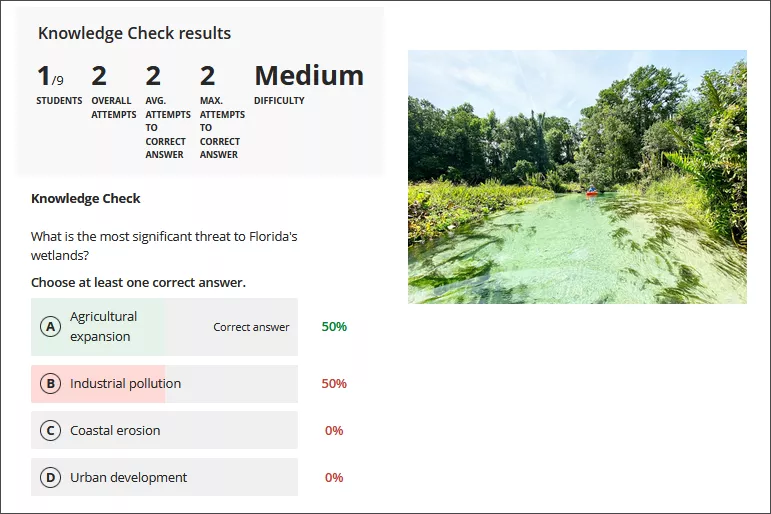
Knowledge Check metrics for instructors
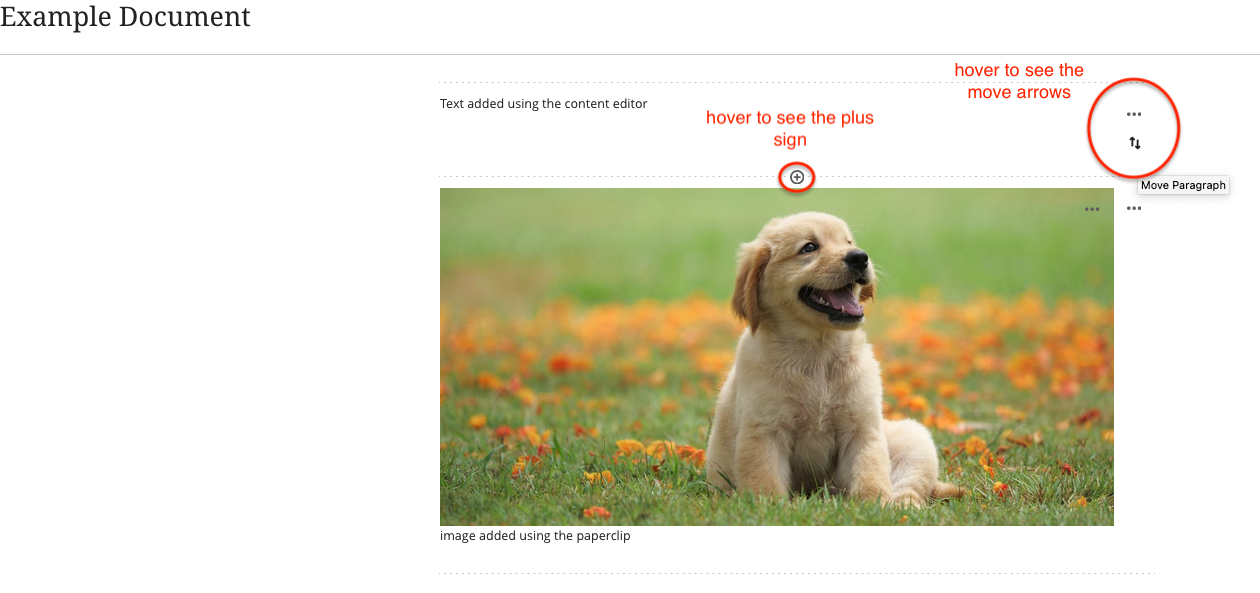
5. Add more content by selecting the “add” icon ![]() wherever you want to add more content. Note that the
wherever you want to add more content. Note that the ![]() appears on the top left as well as on the horizontal borders of existing content.
appears on the top left as well as on the horizontal borders of existing content.
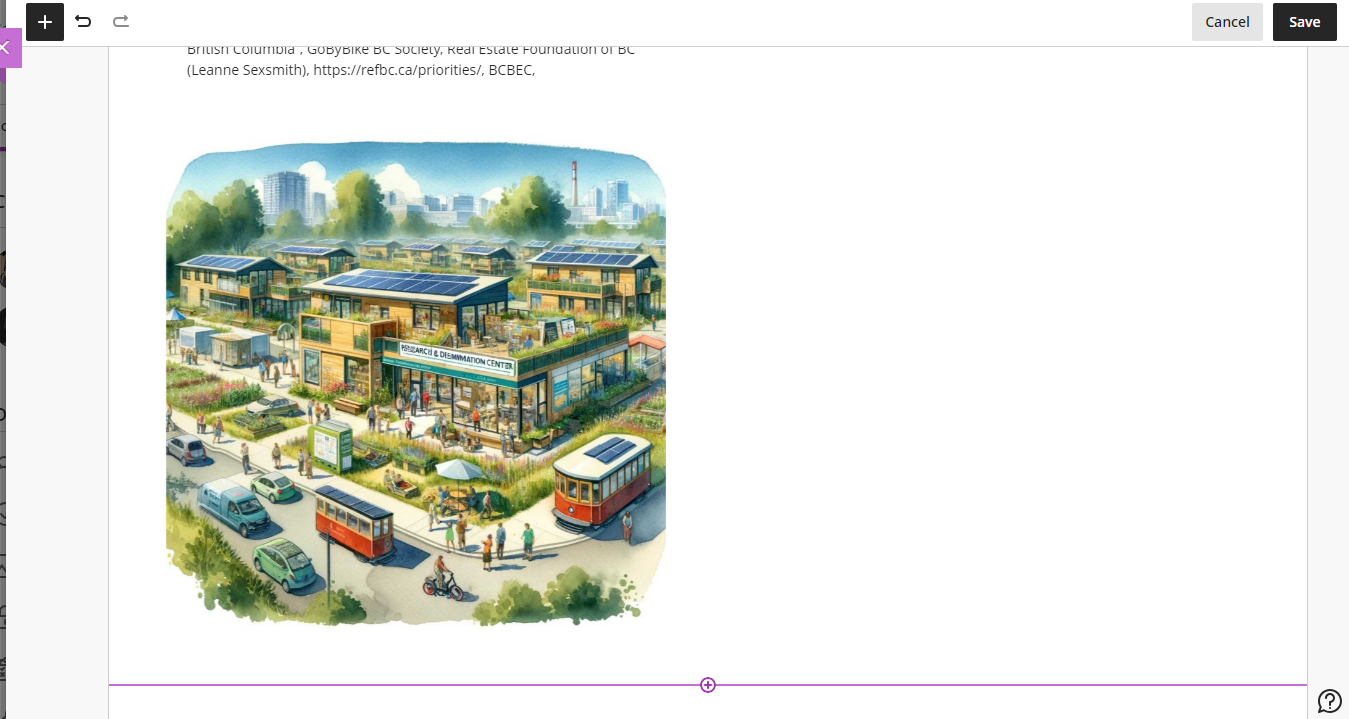
6. Edit, reorder, and delete section of documents
Click on the three dots (…) to make more changes.
Move a section up and down within a document by clicking on the ↑↓ arrows. You will hovering close to three dots.
Add new sections by clicking on the
 where you would like the new section to appear.
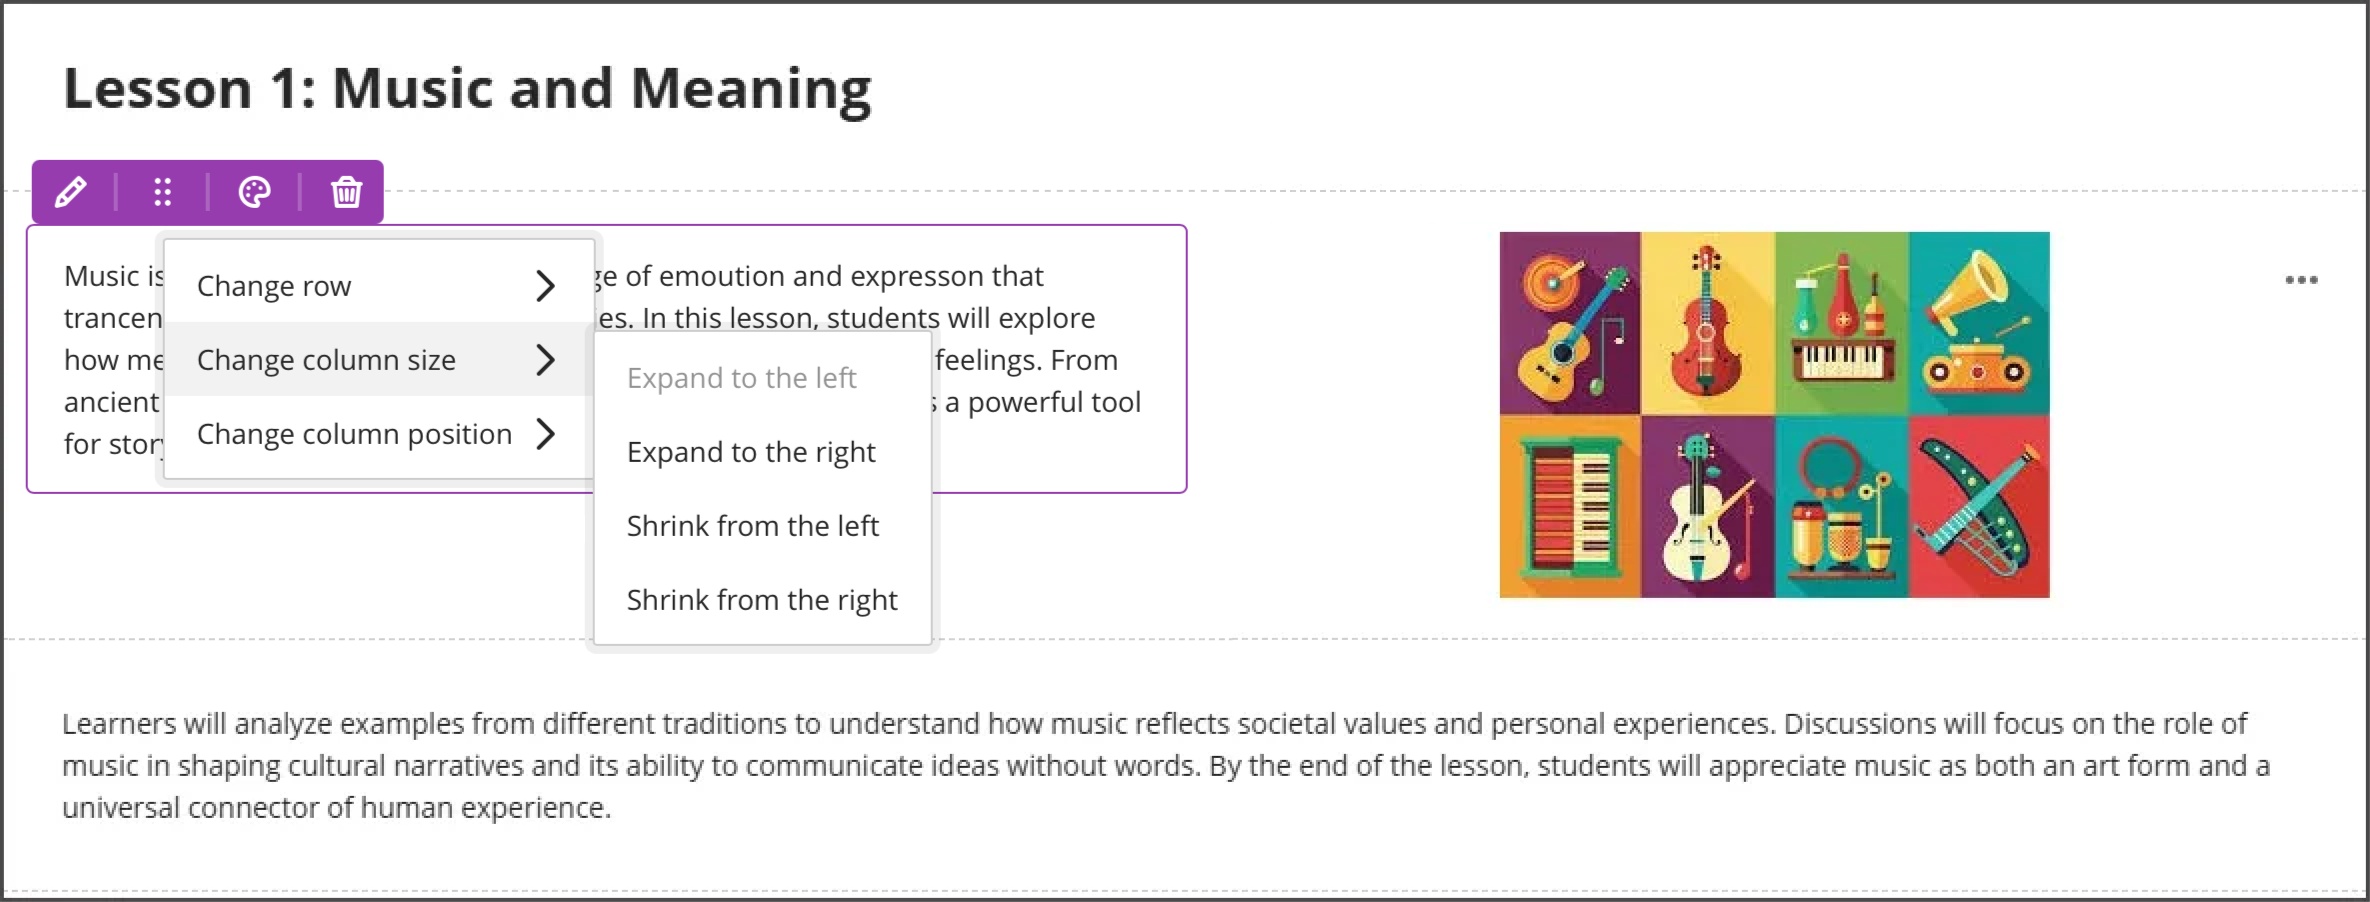
7. You can create appealing layouts by resizing, dragging/dropping blocks into columns and rows, or add block styling.
Each row includes a menu with options to move or delete the block.

Each block includes a menu with options to edit, move, or resize, or delete the block.
Select the artist palette icon to access styling options that appears in Edit mode on all block types. The options include Question, Tip, Key points, and Next steps. This styling is visual only.
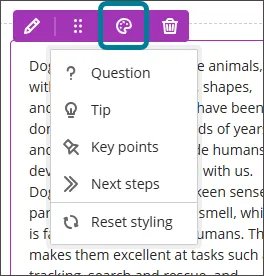 Drop down menu accessed from the artist palette icon | 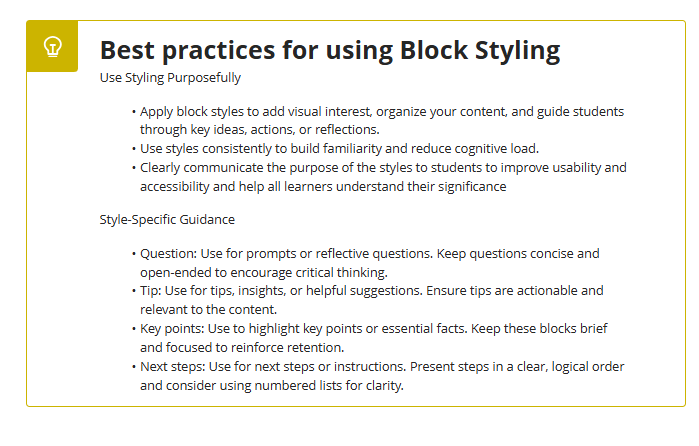 Content block with Tip block styling |
Save your document
Show or hide the document.
Students can't see a document until you choose to show it. This allows you to create all your content in advance and choose when to make it available.
You can also set Release Conditions based on date, time, and performance on other items in the course Gradebook.
On the Course Content page, students can see when the document is set to be available.
Document Settings
Click on the gear icon in Edit mode to open the Document Settings panel and:
Add a Description. The description appears with the document title on the Course Content page. Content item descriptions are limited to 250 characters.
Allow class conversations. You can allow conversations within a document, and anyone can contribute. As the conversation develops, it appears only with the document. Note: some instructors find the ‘conversation tool’ confusing and easy to overlook (it’s not clear when a conversation has been added to a document)
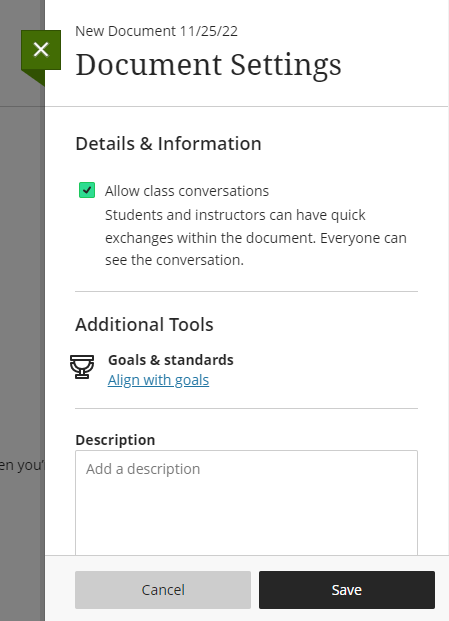
Image options
You can upload an image from your device or via Unsplash.
You have the option to adjust the aspect ratio as well as zoom in/out of an image.
If your browser allows, media files display inline by default. Otherwise, it appears as an attachment.
Images that are 768 pixels and smaller will have minimal padding.
You can edit the file settings, including the display name, alternative text, and display behaviour. Choose whether to insert the file as a link in the editor or to embed the file directly so it appears inline with other content you've added.
Select the file in the editor and click the Edit Attachment icon to edit the file's alternative text or display behavior.
If you are adding an image as an image block, you have the option of adding a caption above or below. This is not available for images in content blocks.
Alternative Text
When uploading images to a Document, you will be prompted to add alternative text (a description of your image) which can be read aloud by screen readers for users who are unable to see the images.
To edit alternative text:
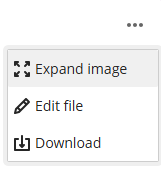
Image block: Select Edit content and hover over the image to select the three dots. Select Edit file and navigate to the Alternative text box.

Image in the Content Editor: Select the image. Select the pencil icon that appears at the end of the tool bar and navigate to the Alternative text box.
Print a Document or Save as PDF
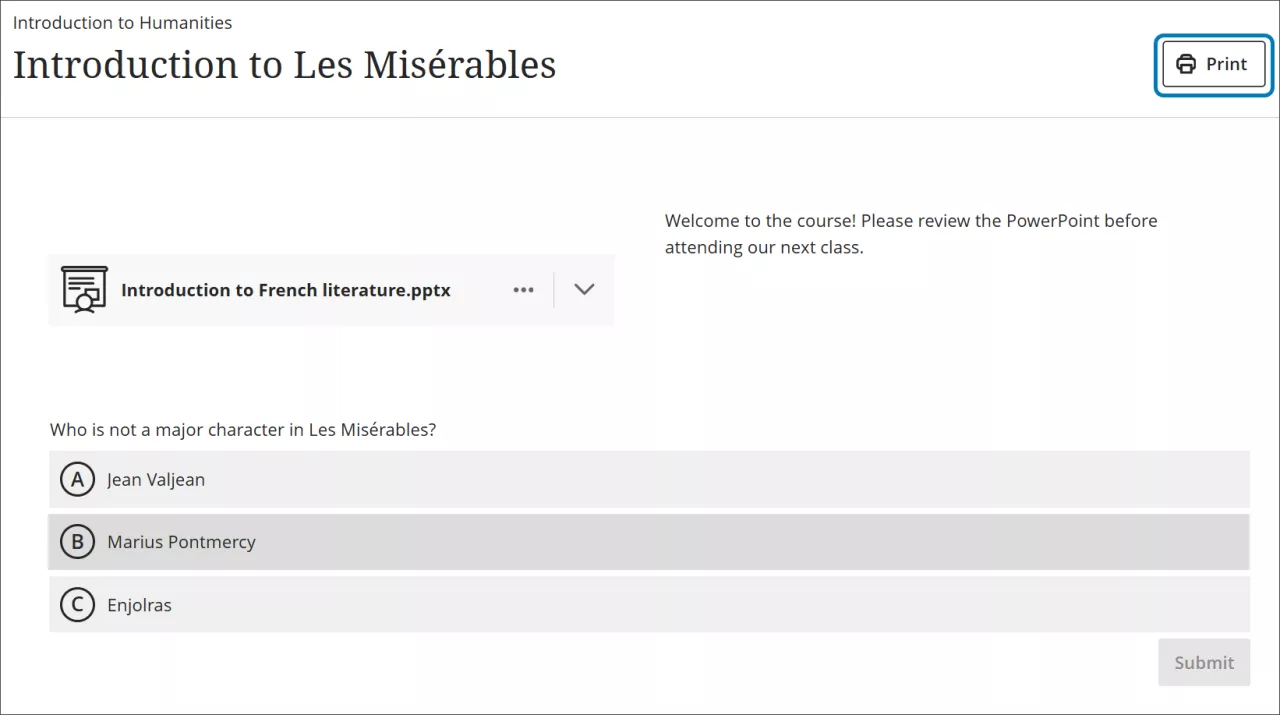
If you want to print a Blackboard Document or save it as a PDF, select the Print icon on the top right of the Document.
Blackboard Help Resources
Add Files, Images, Audio, and Video
