Messages are private and secure text-based communication that occurs within courses among course members. They are a good way for students to connect with each other without sharing personal email information. Students can easily find another student in the class by name and then send them a message to connect.
Instructors can contact students, and students can contact instructors and classmates using the Messages tool. Although similar to email, users must be logged in to a write and respond to course messages and messages activity remains inside Blackboard.
Click Send an email copy to recipients if you want the student to be notified of the message via their Douglas College email.
-
When a Blackboard user receives an email alert to a message, you will be able to preview the message in the email. However, you will not be able to view attachments or media.
-
To respond to the message, the recipient must use the Messages tool in Blackboard.
Sending group messages via Messages or Groups: Students will see who else received the message and replies will be sent to all members of the thread.
Sending messages via the Gradebook or Discussions: Messages goes out as an individual message to each of the recipients selected. Students DO NOT see who else received the message.
Sending Messages via the Messages tool
In the Messages space, you can access message threads that have been sent/received in that course in descending chronological order. Messages sent via the Gradebook, Groups, Discussions, etc. can be found in this space. Click on a thread to view all the messages.
-
Click Messages in the top horizontal navigation bar/menu.
-
Select the New Message icon
on the upper right.
-
Click on the Recipients field for a drop-down menu of participants in the course. Type the name of the person or group to find them. You can also choose All course members, All instructors, or All students. Repeat to add more individuals or groups.
Note the following when selecting recipients:
-
Selecting “All course members” creates a group message. Recipients see that the message went to all course members. Replying to the message sends it back to ‘all course members’
-
Selecting “[Student 1][Student 2]” creates a group message. Recipients see the names of all other recipients. Replying to the message sends it back to all recipients listed
Sending Messages in other areas
If you have set up a group or group set through the top navigation bar, you can send a message to a specific group.
-
Groups: In Groups, expand the group set and click on the envelope icon to the right of the group you wish to mesage.
-
Gradebook > Students: Click on a student’s name from the Students list and click on Send Messages in the top right cornerSending Messages via the Gradebook
-
Submissions: Open the assessment you are grading and click on the Submissions tab. Select one or more students and click Send Message in the top right corner.
-
Discussions: Open a discussion and click on the Student Activity tab. Click on the envelope icon to message all the students who have not participated yet.
Turning off Messages in your course
Limitations
Even when messages are turned off, there are a couple places in Blackboard where messages are not deactivated for students:
-
The course faculty envelope icon in the Details and Actions navigation
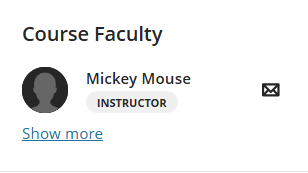
-
Custom or manually assigned groups

Instructors and students will not be able to respond to the email and there is no record of the email in the course. Messages will be sent via email only.
These envelopes cannot be removed. To respond to messages received this way, you would need to turn messages back on. Communicate to your students to only send emails if that’s your preferred communication.
How to turn off messages
-
Within your Ultra course, click Course Settings (upper right corner of screen).
-
On the Course Settings page, Messages are turned on by default (green checkmark).
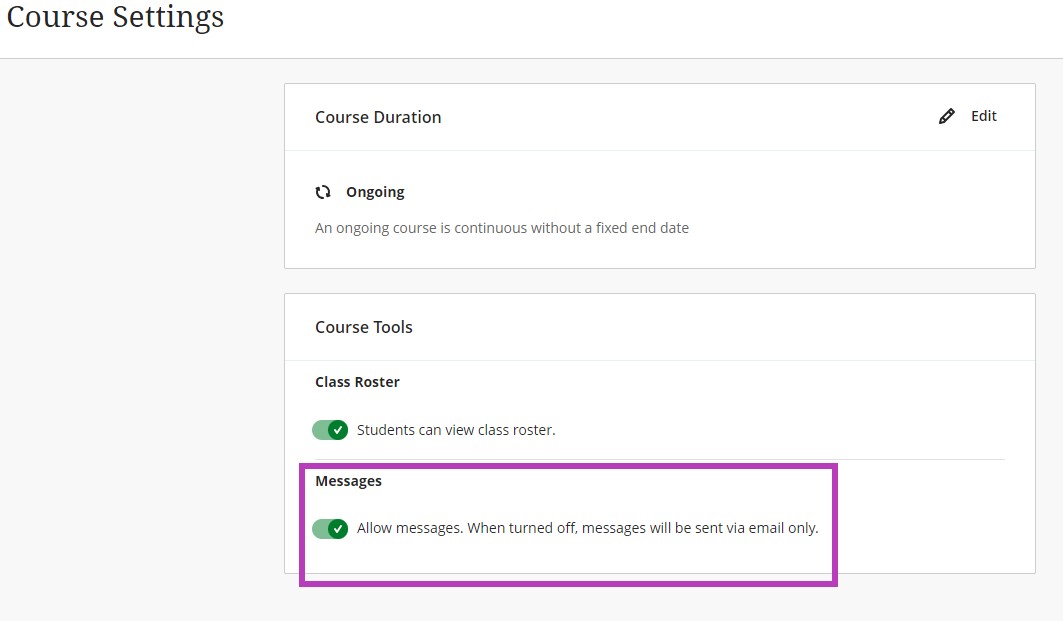
-
To turn off Messages, just click the slider as shown above.