Creating content
In Blackboard, all of your content is added and viewed from the Course Content page. Content can be added directly to your main page or placed in a Learning Modules or Folders to organize information. A Document can be used to organize and group information (e.g. add text, images, pdfs and/or videos in one scrollable document).
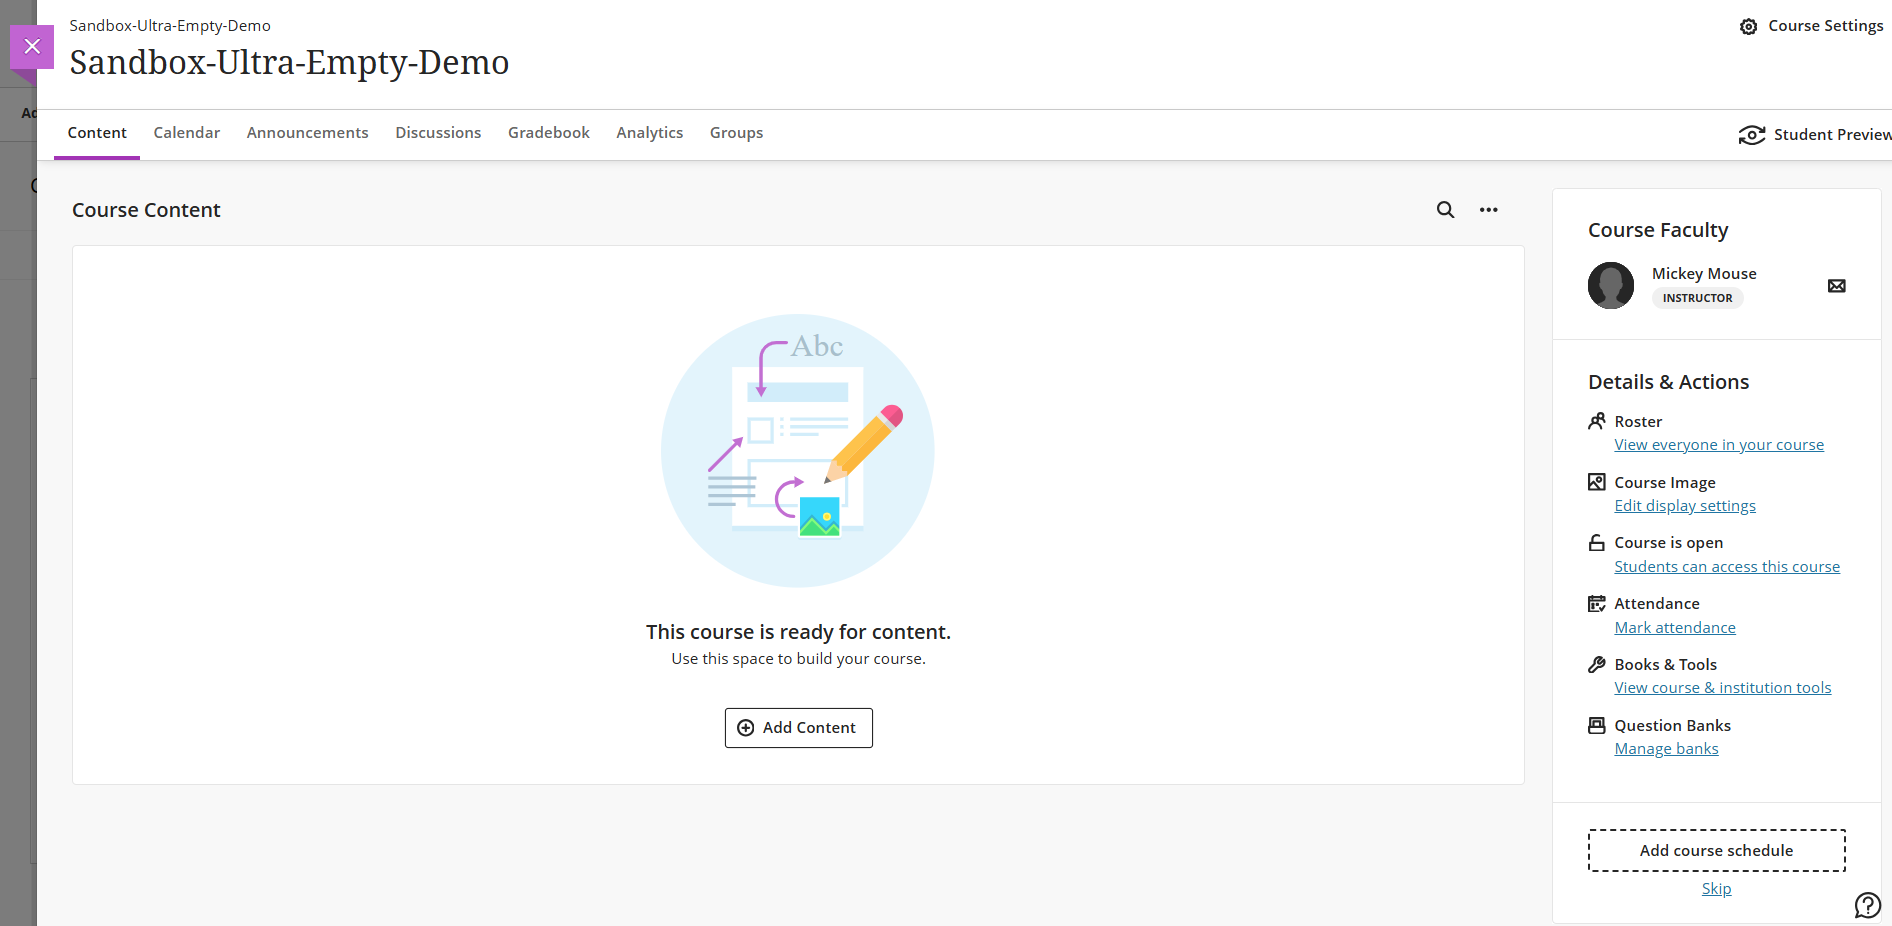
When you open your course shell, the Course Content space will appear in the centre of the window. If you haven’t started adding content to your course, it will be empty.
Add Content
Click on the plus sign:
If you are in an empty course, click
 Add Content in the Course Content area.
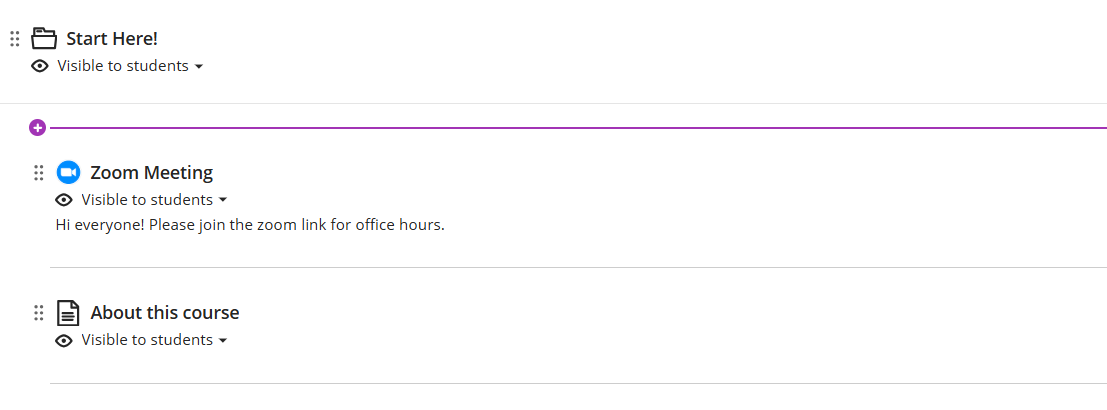
If you are building a course that has content in it already, click on the
 sign wherever you want to add content. The purple
  symbol appears when you hover near the center of your page at the top, bottom, or in between content items. The same
  appears within a folder or module.
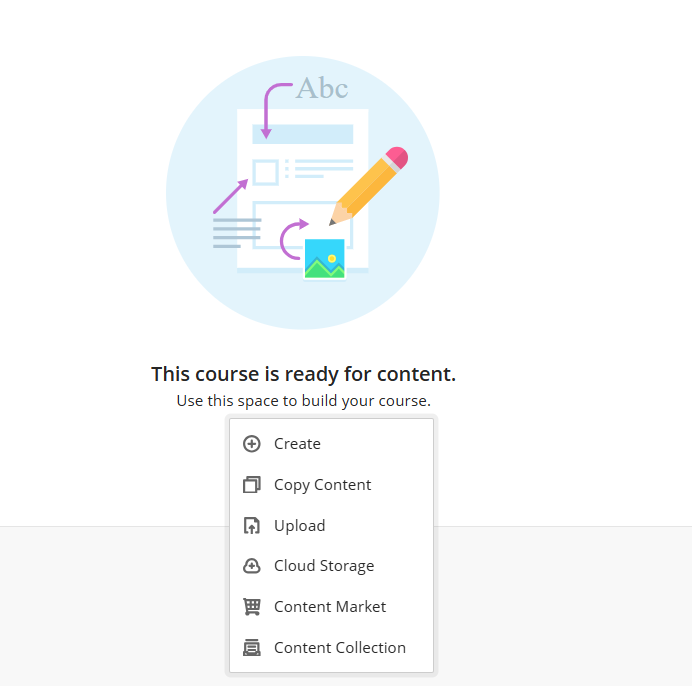
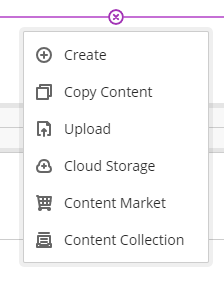
Clicking the ![]() (add content link), opens a drop down menu with options to:
(add content link), opens a drop down menu with options to:
Create - opens a new Create Item panel with many choices outlined in more detail below
Copy Content - copy content from the current course OR one of your previous courses
Upload - add a file from your computer
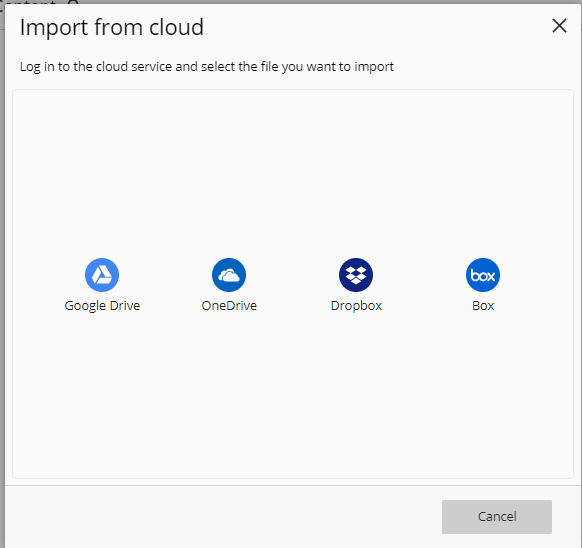
Cloud Storage - add a file from Google drive, OneDrive, Dropbox, or Box
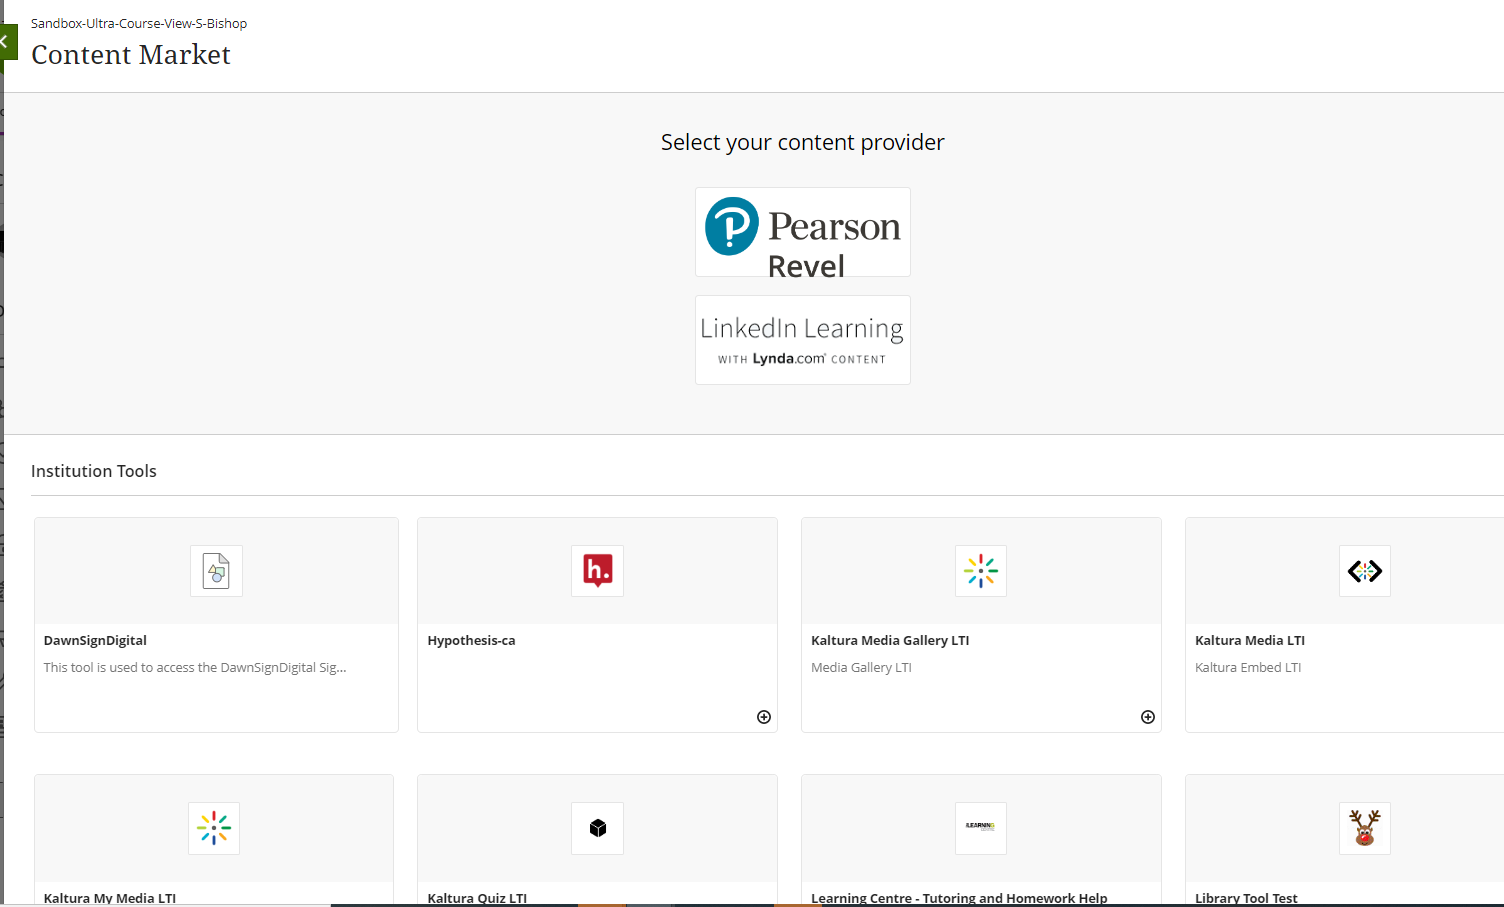
Content Market - link to content providers and Institution Tools
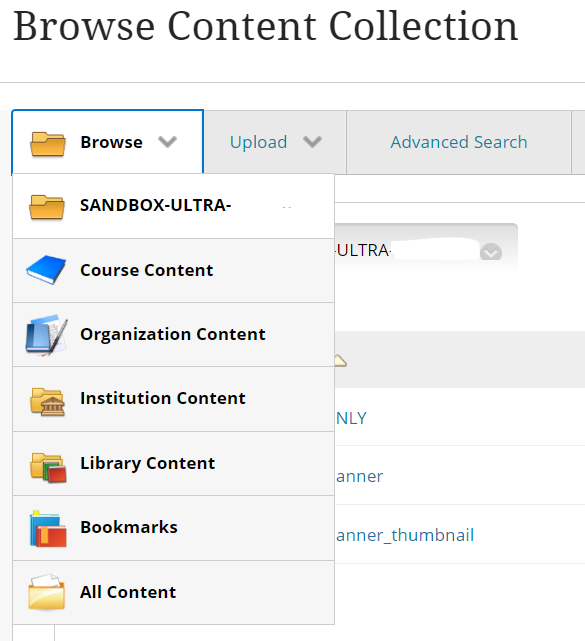
Content Collection - find files that you have uploaded in your current course or other courses
Note: you can easily move content to another area, including in or out of folders, by dragging the item and dropping it into a new location
Create new content
Clicking on Create opens the Create Item page which include:
Course Content Items: Learning modules, Folders, Documents, Embedded Cloud Documents, Links, Teaching tools with LTI connection, SCORM packages
Assessments: Tests, Assignments, Forms
Participation and Engagement: Cloud collaboration, Discussions, Journals
Copy content
Clicking on Copy Content provides a list of all the Courses and Organizations that you have access to.
Click on the title of the course or use the right-pointing arrows to select individual content items to copy into your course.
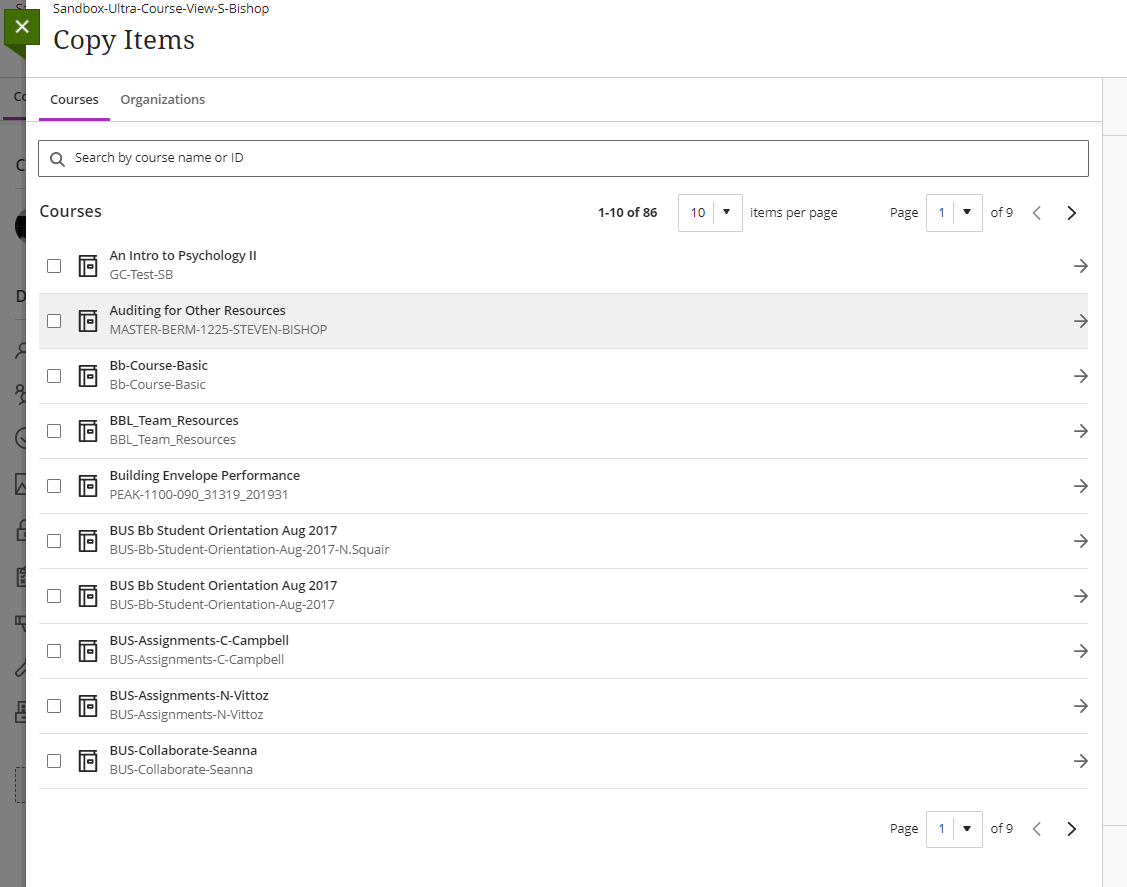
While it is also possible copy your entire course, a granular copy works best when bringing content over from Original Course view.
Note: if you copy the entire course, you must update or delete your course announcements before the start of term
Upload content
Click on Upload to browse for files on your computer. After selecting a file, a pop-up will appear with options for how students access the file. Supported file types include DOC, DOCX, HTM, HTML, MP3, MPG, PDF, PPT, PPTX, XLS, XLSX, RTF, TXT, ZIP, and most image types.
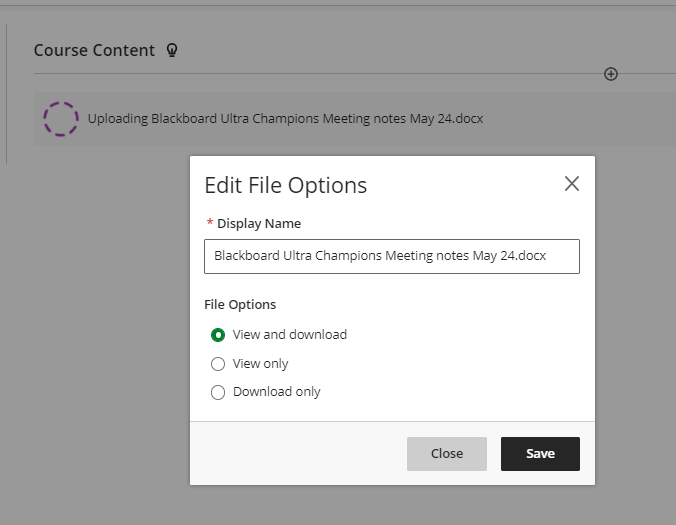
Uploading a file on your main page
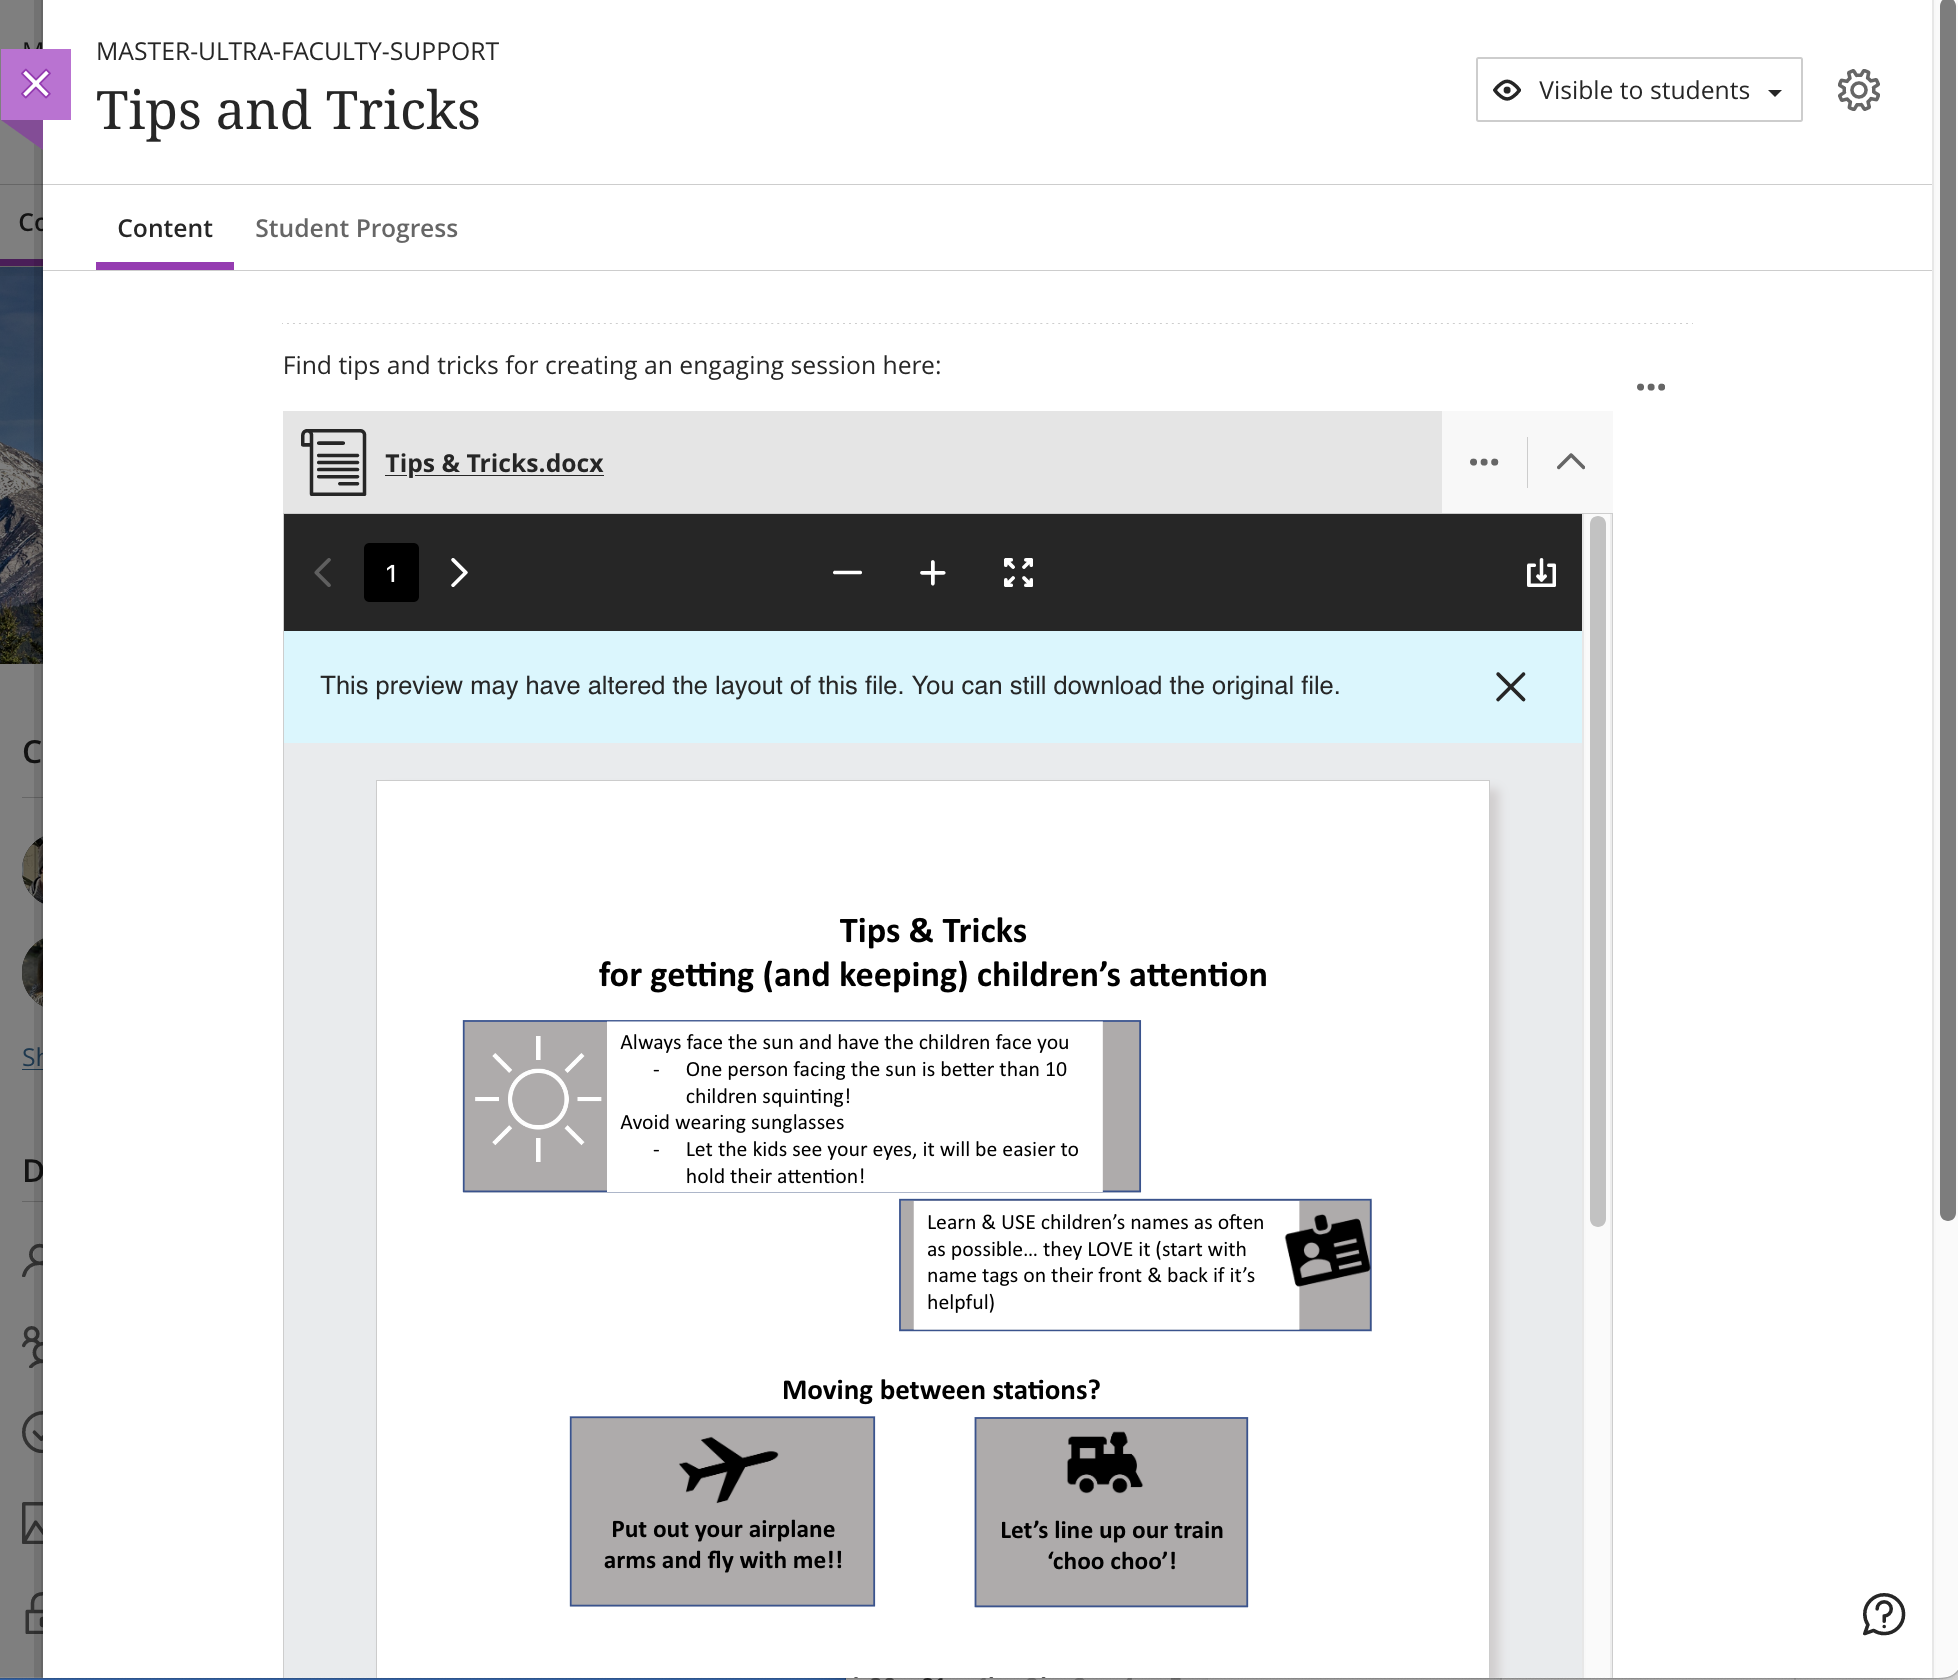
When you ‘upload’ a file to your main page, it appears like this:

When the student clicks on your file, a new panel will open and the student can view and download the document from there.
Uploading a file within a Document
You can also upload a file to a Document by clicking on Add Content and then Attachment (paper clip icon)

When the student clicks on the document, a new panel will open with all the content available. The student can then scroll through to see the text, images, video or files within the Document. The student will be able to view and download the file from this screen. In this case the file will ‘drop down’ to open within the document.
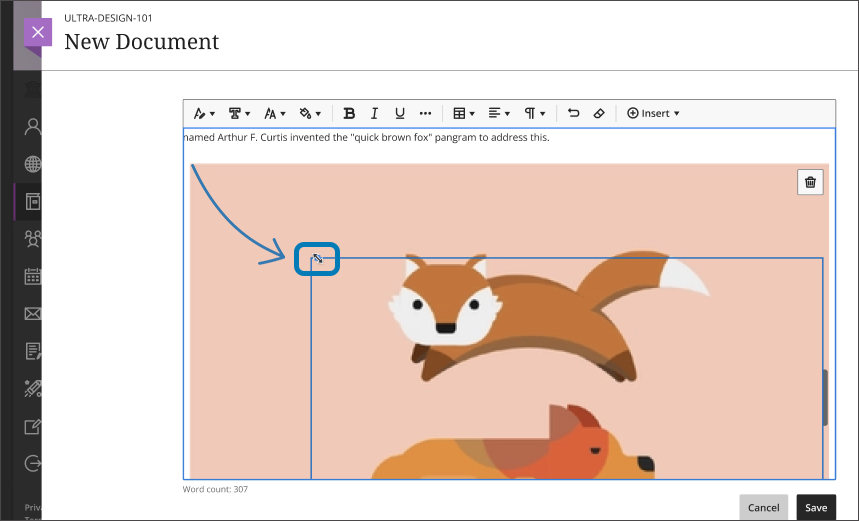
When adding images, you can click on the image to resize it.
Cloud Storage
Click on Cloud Storage to open the Import from cloud window. Options include Google Drive, OneDrive, Dropbox, and Box. You can choose multiple files from cloud storage to add to your Course Content page in one action.
The files you add are copies. If you make a change to a file in cloud storage, you need to upload a new copy in your course. (Note: if you want to link to a OneDrive document, this is done within the ‘Create’ menu - ‘Embedded Cloud Document’ or ‘Cloud Collaboration’)
Content Market
Click on Content Market to access content providers and Institution Tools. This area allows you to add content and tools from external sources such as Kaltura, Hypothesis, Zoom, Padlet, etc.
Content Collection
Content Collection allows you to browse files you have added to your courses. You can store and find content in personal, course, and institution folders. If you stored files from other courses, you will be able to find them in the Content Collection.
Email the Service Desk and request to meet with a Learning Designer for support in using and additional information about the Content Collection feature.
Note: to avoid exceeding your course quota, use Kaltura Media tools to add audio and video media to your course.
Blackboard Help Resources
Copy Content from Other Courses
Add Content from External Sources
https://youtu.be/6GsDkyjhccg