Using Zoom in a Blackboard course
Note: Zoom will not be available in Blackboard after April 24th, 2026.
Zoom meetings can be added to Blackboard Ultra courses, host virtual office hours, and create virtual study rooms for students.
Each Blackboard course can have a Zoom dashboard added to the Course Content area. Zoom dashboards in courses will not have Zoom meetings from other Blackboard courses and will need to be created with each new term. Zoom dashboards dashboards and direct Zoom links created in the dashboard should not be copied from course to course.
To access all Zoom meetings, recordings, and advanced settings, you can log into Zoom using your college credentials.
In 2021, the Vice-President Academic and Provost decided to discontinue the use of online proctoring tools for assessment due to concerns about student privacy, sound pedagogy, and student wellness. This includes the use of Zoom or any other video conferencing tool where students can be monitored via their camera while taking an online assessment. If you have questions, please contact your Dean or Associate Dean.
Adding Zoom to my course
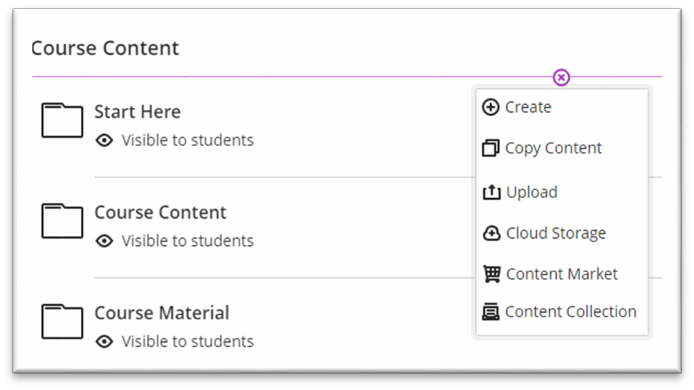
Add a link to your Course Content area by clicking the Add Content icon (circle with a plus sign in the middle), then select Content Market.
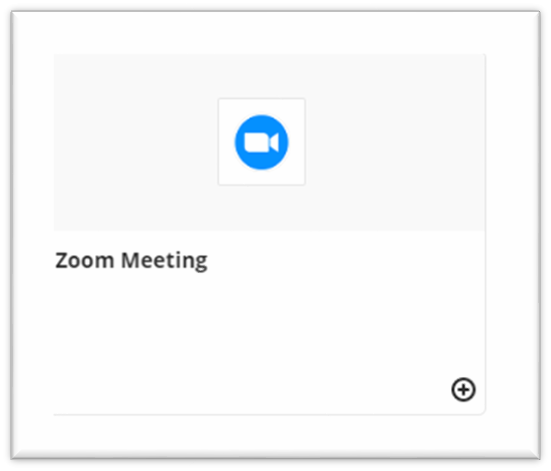
On the Content Market page that opens, scroll down to the bottom under Institution Tools until you see Zoom Meeting. Click the plus sign.
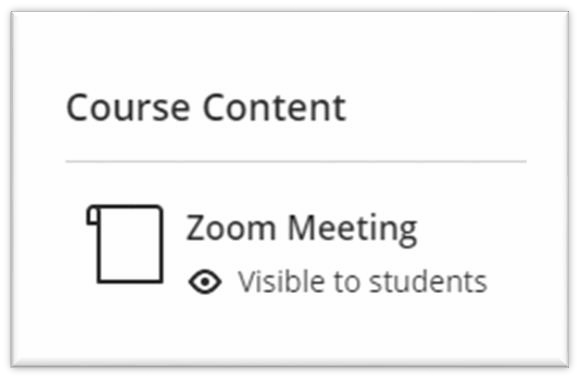
When you do so, Zoom is added to your Course Content page. Remember to make Zoom visible for your students.
Click on the new Zoom link. Schedule meetings for your course here. Students who access Zoom via Blackboard will see meetings and recordings for this course, but not other courses.

Scheduling Zoom Meetings
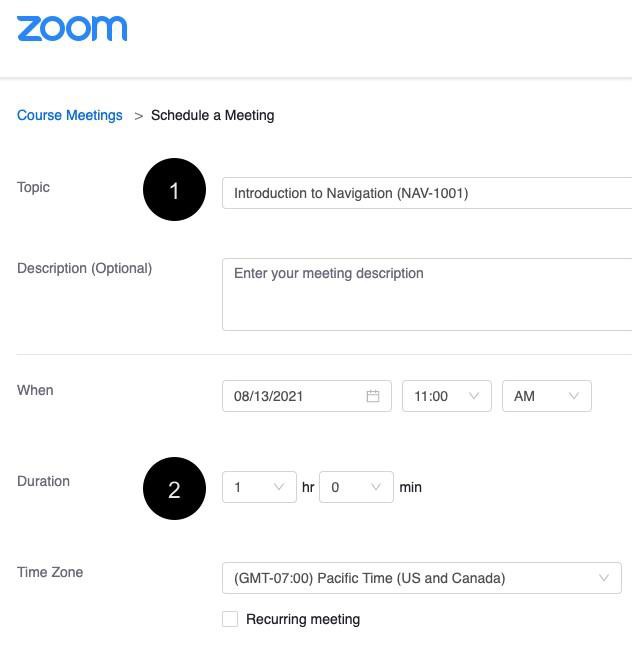
Add a meeting title that describes the purpose of the meeting (study group, exam review, office hours, etc.)
Set a date, time, and duration for the meeting. For daily or weekly meetings, select “Recurring Meeting” and choose the appropriate interval. To create a meeting that is always open, select Recurring Meeting > Recurrence > No Fixed Time.
Enabling the Waiting Room feature will force students to wait until the instructor allows them into the meeting. This can be useful for one-on-one office hours.
Enable “Join before host” to allow students to join a meeting before the instructor, if desired.
The instructor who schedules the meeting will automatically become the host. To give other instructors host privileges, add their Douglas College email address to the “Alternative Hosts” field. In courses with multiple instructors, the instructor who starts the meeting will be the Host and other instructors will be Co-Hosts.
Zoom meetings can be recorded to your local drive or to the cloud. Cloud recordings can be viewed by students within Blackboard, avoiding the need to upload or download videos. Local recordings are saved on your hard drive. Both cloud and local recordings create a video file, an audio-only record of the meeting, and a transcript.
Record a Zoom Meeting
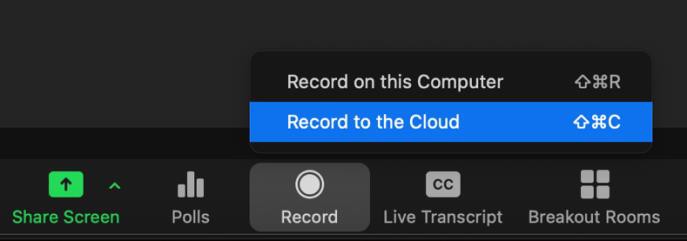
Start a recording when the meeting in already in progress by clicking “Record” in the middle of the Zoom control bar (only the Host and Co-Host can start recording).
Choose “Local Recording” to create an
.mp4 file on your hard drive. Choose “Cloud Recording” to save the recording online where students can access it later.
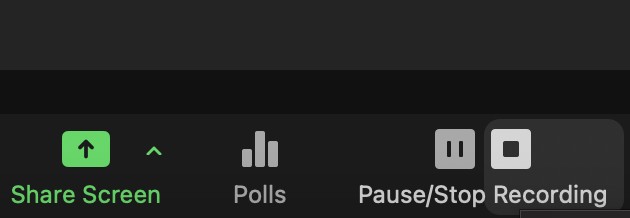
Pause or stop the recording by using the buttons on the control bar.
Edit a Zoom Recording
If you chose Cloud Recording you will receive an email at the address associated with your Zoom account (name@douglascollege.ca) inviting you to view the recording via a hyperlink.
Click the host-only hyperlink to open the recording in your browser.
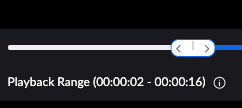
While viewing the recording using the host-only link, you can click the scissors icon on the playback timeline to trim the recording.

Drag the slider bar to limit playback for viewers to only within the selected times. The recording trimming is reversible and can be changed later.
Share a Zoom Recording
Students can view the Cloud Recordings for their course within Blackboard only after the instructor publishes them.
Open Zoom from your course menu in Blackboard and click on the Cloud Recordings tab.
To the right of the recording you want students to view, click on the button beneath “Publish.” It will turn from gray to blue. Now students will see the recording when they open Zoom from this Blackboard course and click on the Cloud Recordings tab.

Alternatively, share a direct link to the video or audio-only recording with your students. Open a recording and click “Share” beneath the video recording. Copy and share the link and password for the recording as you would for a Zoom meeting.
Recommendations for Privacy and Security Concerns
Consider the following Scheduling and In-Meeting settings. At the start of class host a discussion with the class about professionalism and the breach of privacy, guidelines for a safe learning environment and harassment.
Control how participants enter the meeting:
Deactivate Join Before Host
Require a password when scheduling new meetings
Enable the Waiting room
Only allow students to access Zoom from inside the Blackboard course.
Do not send out or copy links via email, as this can be risky if shared email addresses exist.
Identify students as they join the Zoom meeting – no one should be named “iPhone13” or “MacBook12.”
Ensure the number of participants matches the class roster
Decide what participants can do during the meeting:
Deactivate Chat and/or Private Chat
Allow host to put attendee on hold
Limit Screen sharing
Schedule and secure your meeting ID
Schedule meetings in advance
Allow Zoom to generate the Meeting ID automatically
Create new Meeting IDs frequently
Keep your meeting ID and passwords private
Use the green shield inside Zoom to report a concerning issue
Inform students that if there is a breach in behaviour, the impacted recipients of the message should screenshot and send the picture to the faculty privately immediately. The instructor can remove the participant sending the offensive message from the Zoom meeting.
Related Resources
Find more resources on Zoom Resources
Find educator specific information on Zoom for Education
General Support from http://Zoom.us
Get in touch: Zoom Support via a Chat Bot (via the help centre)
