There are a number of options once you have added media to your course or to your My Media collection.
Create quick audio/video (Express Capture)
You can easily record your webcam and microphone with simple settings. This tool is ideal for short videos that don't need editing and can be used by instructors and students.
Access Express Capture
-
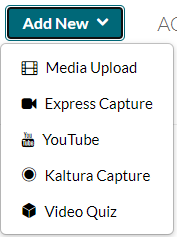
In Content Market > Kaltura My Media LTI, select Add New, and then select Express Capture.
-
Select Allow if a pop-up appears asking for permission to use your microphone and camera.
-
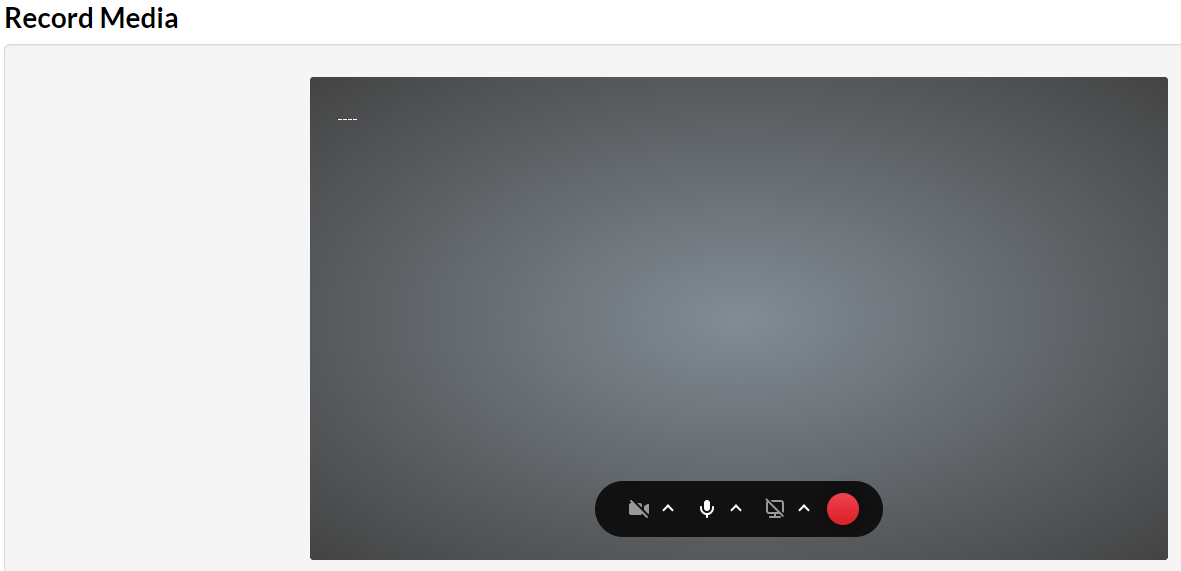
The Record Media window will appear.
Select inputs and record
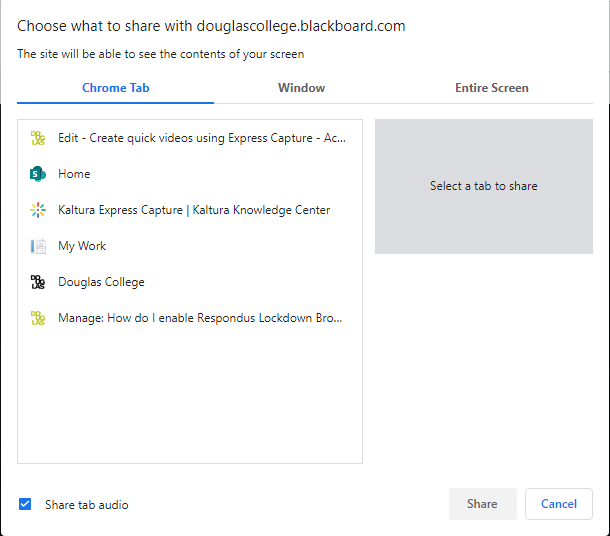
Possible selections include:
-
Chrome Tab - choose from current tabs you have open
-
Window - choose from current browser windows you have open
-
Entire Screen - choose one of two monitors
Select Share system audio if you want to record the audio from a video player. After selecting your inputs, select Share
-
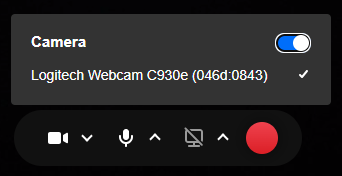
Select the camera, microphone, and screen icons to make selections for your desired camera, audio, and screen sharing inputs.
-
When your are ready, select the red record button and the square button to stop recording.
-
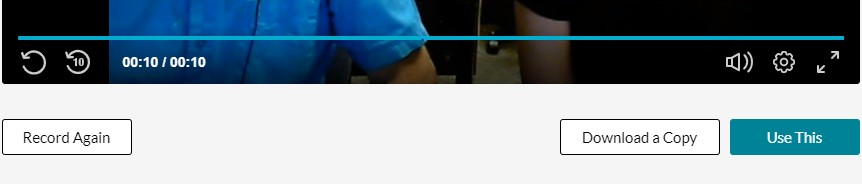
When you finish recording, you can choose from the following:
-
Record Again if you want to discard your recording and start over.
-
Download a Copy if you would like to save your recording as a file.
-
Use This if you want to add your recording to My Media.
To create multi-stream recordings, check out this resource:
Deleting media
You can delete media from your My Media page by clicking on the trash icon next to the entry. Media in the recycling bin will be retained by Douglas College for 30 days. Within this period, media can be retrieved.
For more detailed instructions: Send items to the recycle bin (Kaltura link)
Edit closed captions and transcripts
Kaltura media is automatically captioned with about 85% accuracy. To edit the captions:
-
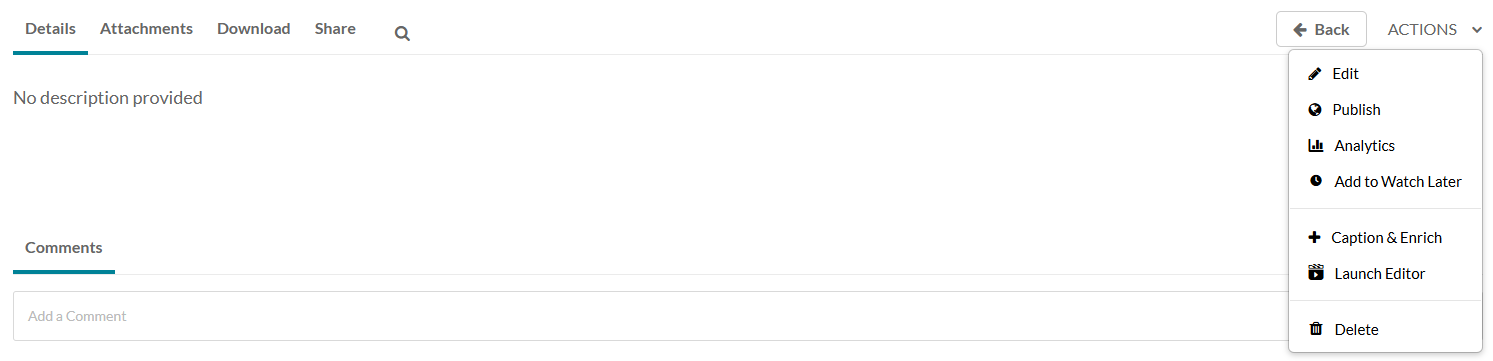
Select on the thumbnail or the title of the media in Kaltura My Media
-
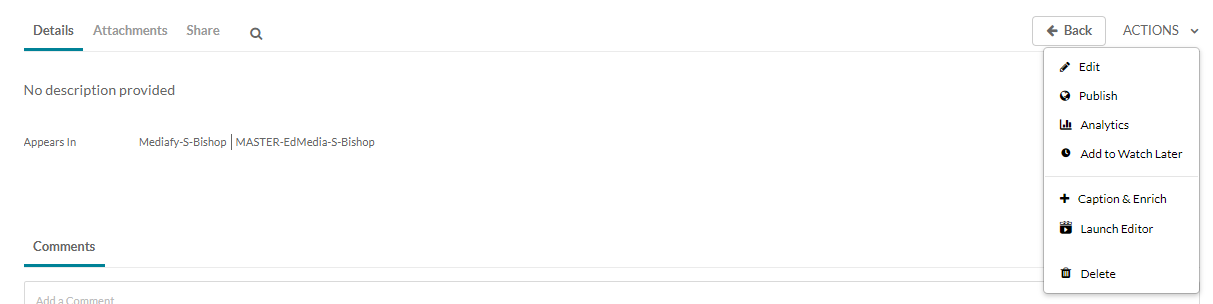
Select Actions and then select Captions and Enrich
-
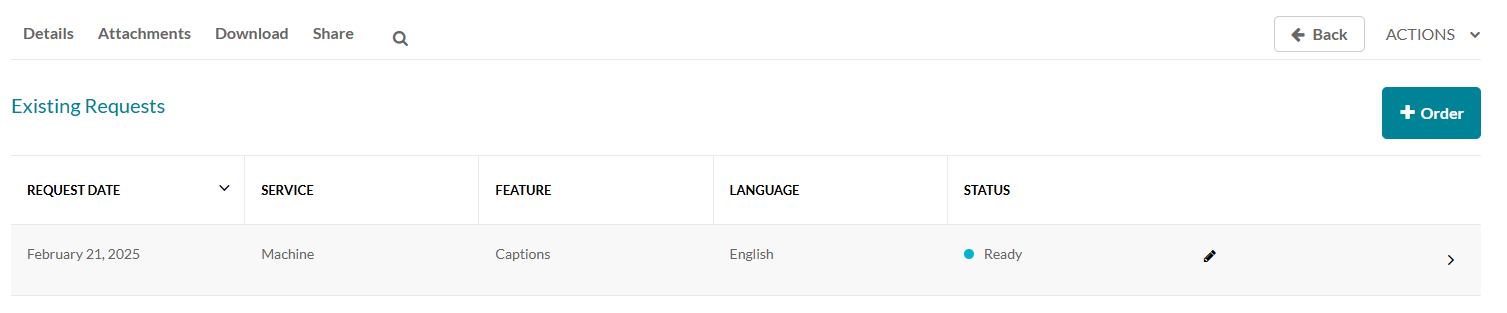
The Existing Requests layer will open. Select the pencil icon to access the caption editing function
-
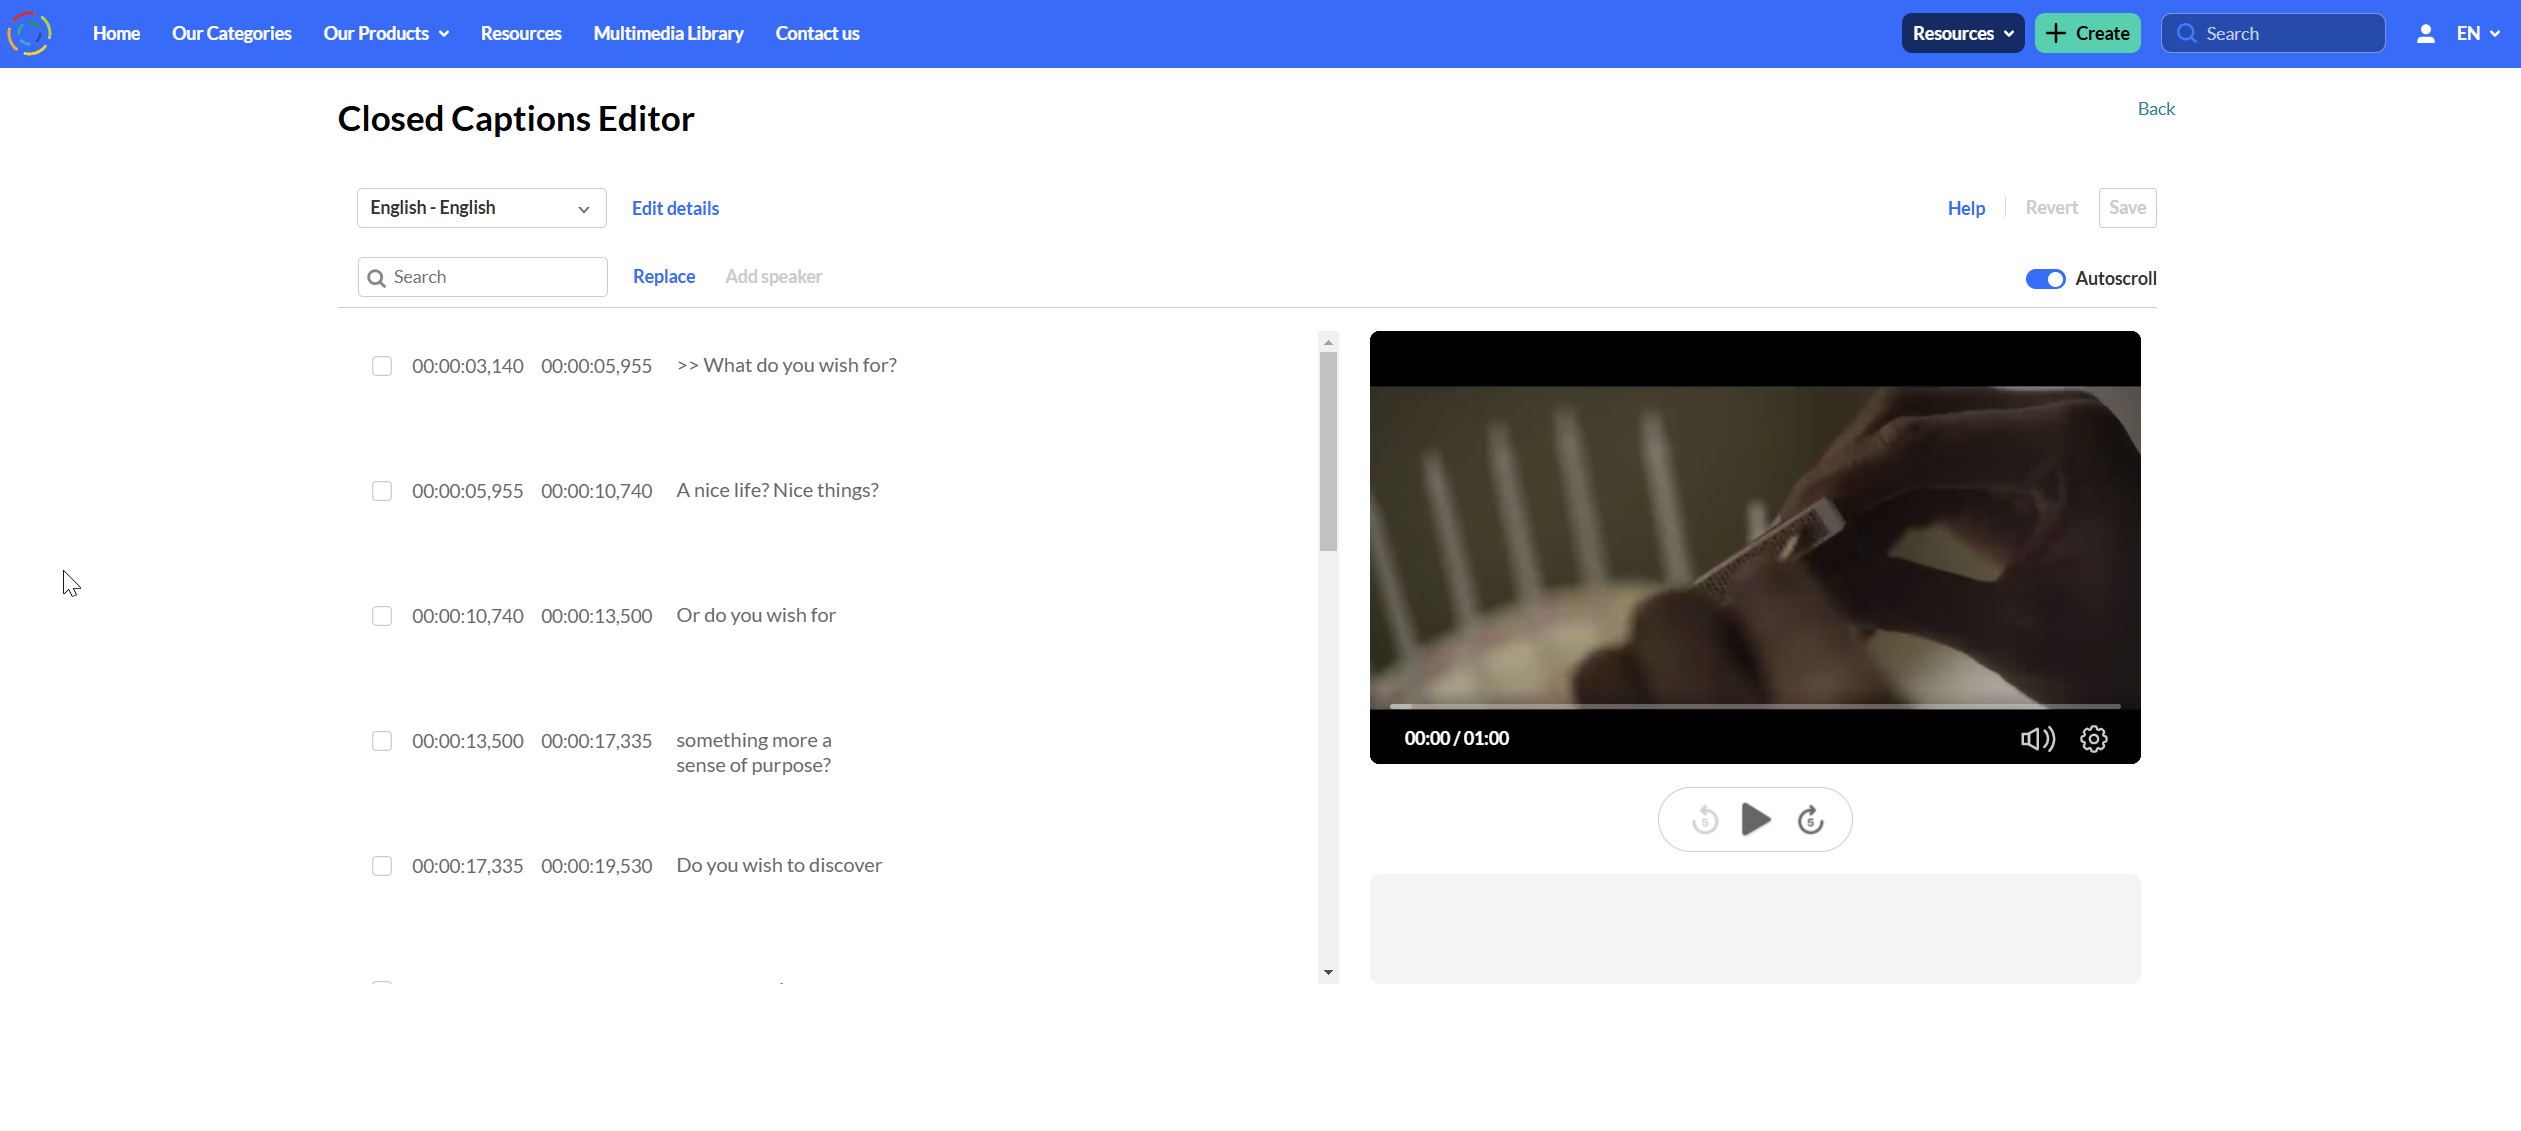
On the left, you can select text, speaker, or timestamp that you want to modify.
Create a Kaltura quiz
-
On the Course Content page, select the + sign, then choose Content Market.
-
Select Kaltura Quiz LTI.
-
Select Add New in the upper right corner, and then Video Quiz. This will open the Editor / Media Selection layer.
-
Click Select for a video you want to use for a quiz. A Quiz creation/editing tool will appear.
-
Starting from the left, notice the tools and options. The default view is for Quiz, which provides:
-
Details (Edit the Quiz Name, Show/Hide a Welcome Page, and create a Welcome Message)
-
Scores including options for Allow Multiple Attempts and Do Not Show/Show Scores
-
Experience including options for Allow Answers Change, Allow Skip and Do not Allow Skip
-
-
Add your questions. In the Quiz view, you can play the video, pause, and Add a Question (Multiple choice, Reflection point, True/False, and Open-ended Question).
-
Select the timeline at the bottom of the screen to select the place to add a question. You also have the option to shuffle your answers, and provide Hints and Why text.
-
Select Done. You have the option to Preview and Edit Quiz.
-
Select Save and Embed when you are ready to deploy your new quiz.
The Video Editor tool allows you to split, set in (crop), and Fade In/Out.
Naming conventions for Kaltura media
Our Kaltura media streaming platform, which is integrated into Blackboard, enables users to create new media directly in Kaltura or upload media from their devices. Using this service ensures that your Blackboard courses do not become bloated with heavy video or audio files since they are streamed directly through the cloud via our Canadian Kaltura server.
When uploading your media, we recommend you follow these simple naming conventions:
-
Give each video/audio clip a unique name. Do not retain the default file name.
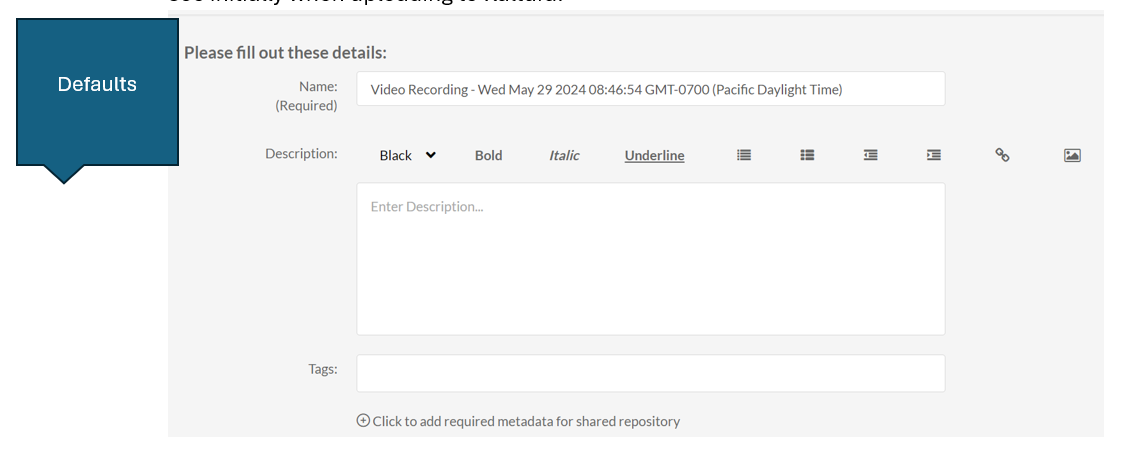
-
Complete the Name, Description and Tags fields. If your video is being uploaded to the Shared Repository, select the plus sign.
By providing a unique name, description, and tags:
-
Your video can be properly catalogued in the Kaltura database and thus is easily searchable.
-
The name provides the purpose. There should be no confusion who this video belongs to and in which course. If you are creating several different videos with the same purpose for each of your courses, give it a easily identifiable name like “Welcome video Fall24 ACCT 1200 HMiller”).
-
There is no need to change the name when linking or embedding your media within Blackboard. Thus, the two systems will show your media with a single name.
Download media
-
When new media is added to Kaltura, download functionality is deactivated by default. Once you enable the download feature, all users with access to the video in their My Media will be able to download it.
-
Before you can download your media, Kaltura requires time to process the video. The amount of processing time depends on the size of the file. Large files may take up to an hour or longer to process.
For multi stream (dual screen) videos, you must first follow these steps:
-
To the right of your video, click on the pencil icon (Edit).
-
On the right in Basic Info, copy the Media Entry ID.
-
Click the Back icon in your browser.
-
Paste the Media Entry ID in the Search tool.
-
Proceed to the steps below for the recording you wish to download.
Note: You are only able to download each stream separately.
-
To download media from Kaltura, you first must first enable the Download feature. Locate the video you want to download in My Media, and then select Edit.

-
Select the Downloads tab.
-
To download the file in its original format, select all three of the Available Formats (Source, HD/720, and Basic/Small)

-
Select Save.
-
Select Go To Media.
-
After you enable the Download feature for the media, select the Download tab below the media.
-
Select the Download icon (the down arrow) from the corresponding column for your desired file size.

Media Analytics
To check your media analytics, go to Content Market > Kaltura My Media LTI > My Analytics on the top right.
From your Analytics page, you can check player impressions, total plays, minute videos, top videos, and more. Check the related links for more information.
Create a playlist
The playlist feature simplifies navigation, allowing students to access all module videos in one central location rather than scrolling through a long list within a Blackboard content folder.
Instead of uploading an hour long lecture, a playlist can break the material the material up into shorter videos for students to have a breather in between viewing.
-
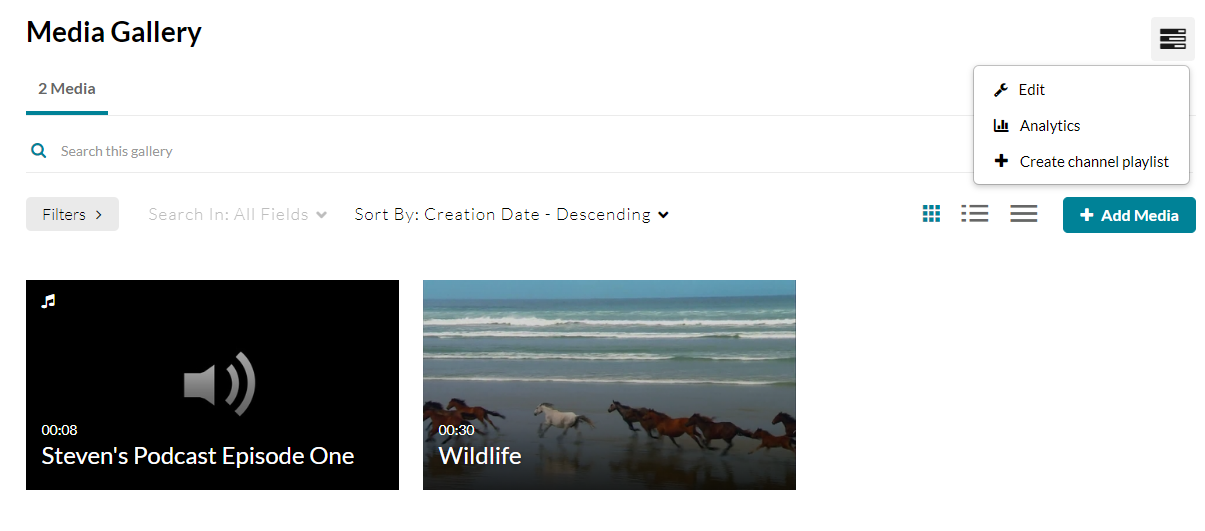
Go to Content Market > Media Gallery.
-
Select the Channel Actions button in the upper right corner > Create channel playlist.
-
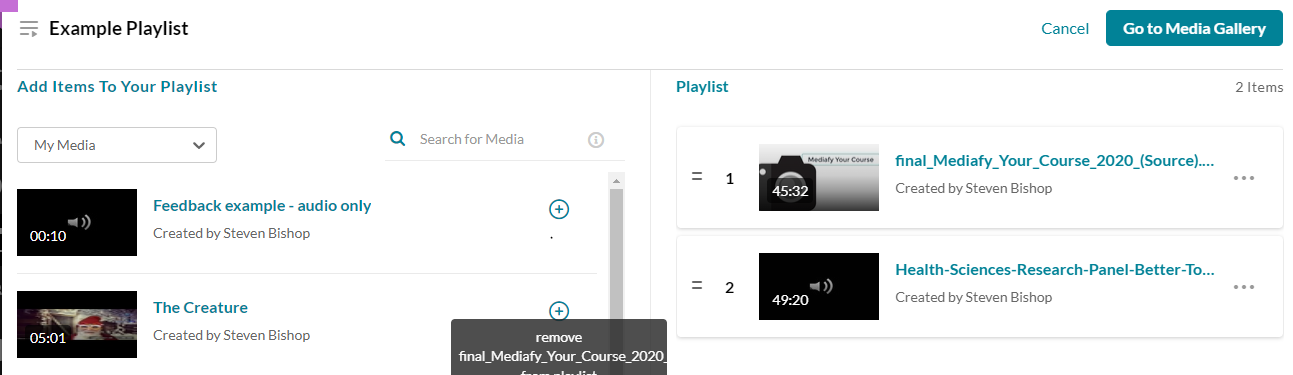
Give your new playlist a Title, Description, and Tags if desired. When finished, select Create. You can also Add Items To Your Playlist at a later time.
-
When finished, select Go to Media Gallery.
-
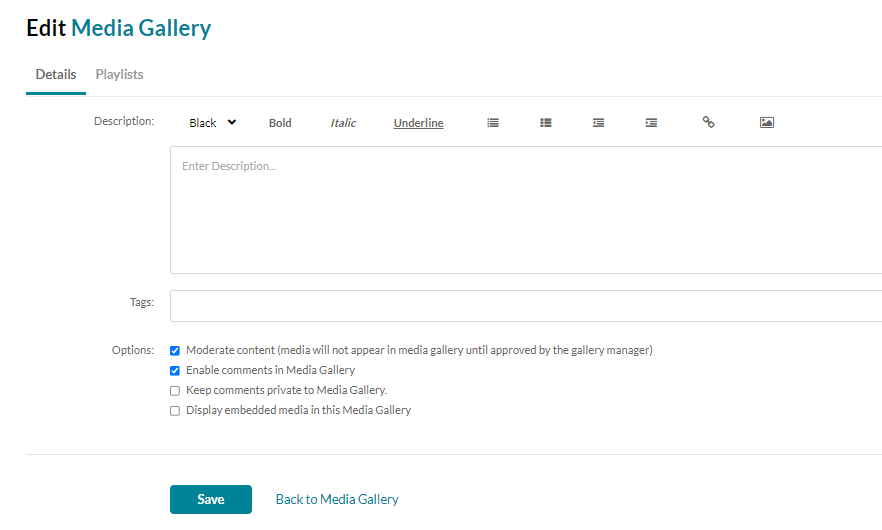
In the Media Gallery LTI, select the Channel Actions icon on the top right and select Edit. Select the following options if applicable and select Save:
-
Moderate content (media will not appear in media gallery until approved by the gallery manager
-
Enable comments in Media Gallery
-
Keep comments private to Media Gallery
-
Display embedded media in this Media Gallery
-
Select the name of the playlist in your Media Gallery to access the following options:
-
Add or edit the description
-
Review the contents
-
Obtain shareable link
-
Search in video
-
Access the ACTIONS menu for additional operations
Share media with colleagues
The Kaltura Shared Repository allows open sharing of content with other employees of Douglas College. For searchability purposes, the shared repository includes a tagging structure based on Douglas College Faculties, Departments, and Services.
Please note the Terms of Use:
-
When using the Shared Repository, you are making your content available to all other Douglas College employees that are using Kaltura.
-
Content: Use of this services at Douglas College falls under the Acceptable Use of Computer and Information Technology Standard Policy.
-
Privacy: You must have consent before sharing work that reveals the personal information of others.
-
Copyright: Responsibility for ensuring that the copyrights of others, including publishers and individuals, are not infringed rests with the person sharing the content. The accepted understanding of copyrighted work is found in the College Use of Copyrighted Works Policy.
If you are new to using the Kaltura Shared Repository, please reach out to servicedesk@douglascollege.ca to consult with a Learning Designer.
Contributing to a Shared Repository
To contribute media for other faculty or Douglas College employees to use, follow these steps:
-
In My Media, select Edit (pencil icon) next to the media you want to share.
-
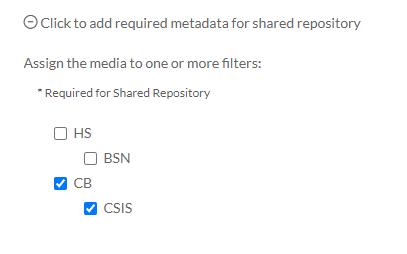
In the Details tab, select “
Select to add required metadata for shared repository”.
-
Make your selection(s) under the Assign the media to one or more filters area to add the media to a shared repository.
-
Select Save.
-
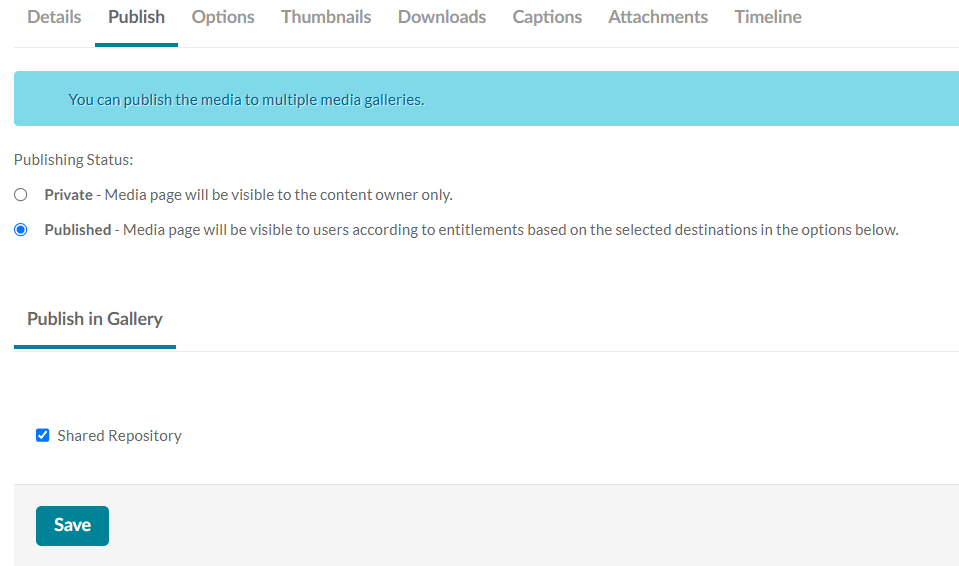
Select the Publish tab > select Published > check Shared Repository > Save.
-
Select I accept the Terms of Use to confirm your contribution to the Shared Repository and select Publish (a “Media successfully published” message will appear).
Adding Shared Repository media to a course Media Gallery
-
Access or add Kaltura Media Gallery to your Course Content area.
-
Select
-
-
Select the the Media Gallery and then select Add Media.
-
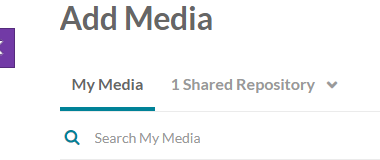
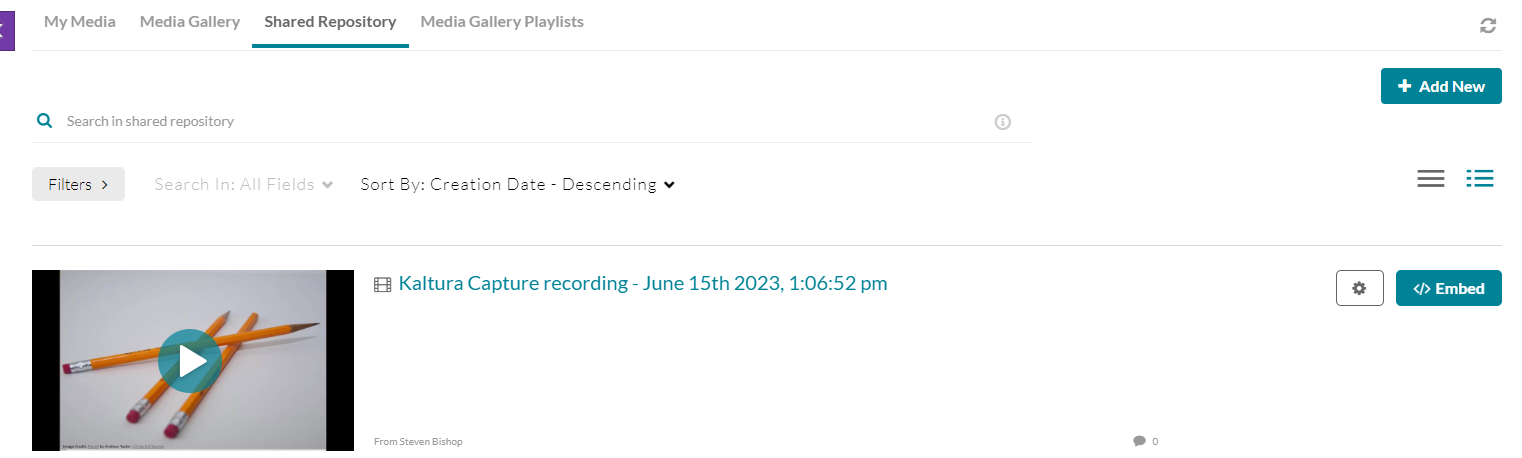
Select Shared Repository at the top of the page.
-
Select the media you want to add to your course’s Media Gallery, and then select Publish.
-
The media will accessible to users in the Media Gallery if you have made the gallery visible.
Adding Shared Repository media to a course content item
-
In the text editor of a content item, select the
-
Select Kaltura Media.
-
In My Media, select Shared Repository at the top of the page.

-
Select Embed next to the desired media.
-
Edit the Display Name in the pop-up window that appears.
-
Select Insert and then Save after the media thumbnail loads.
Removing media from a Shared Repository
You can remove media from your Media Gallery and it will not be removed from the Shared Repository.
To remove your media from a Shared Repository, follow these steps.
-
Open My Media from any course. Select the media, and select the Edit (pencil icon).
-
Select the Publish tab.
-
Select Private. A message will appear asking if you want to continue un-publishing the media from all categories/channels.
-
Select OK to remove from the Shared Repository.
Selecting Delete Entry will permanently delete the file from Kaltura.
Kaltura Knowledge Center resources
Add hotspots to interactive videos | Kaltura Knowledge Center
Overview of Kaltura's LMS integration for Blackboard Ultra | Kaltura Knowledge Center